

Why should quilt backings be straight?
Today I’d like to share my thoughts with you on straight quilt backings. I’ve been longarm quilting for almost 16 years. I have seen a wide variety of different fabrics used for backings, as well as wonky backings, ripped backings, very crooked backings, and so on. No matter which fabric you use, your backing needs to be straight along all four edges. Cut with a rotary cutter, not scissors. Your longarm quilter needs a straight edge to pin to the machine canvases. If you don’t straighten it out, they’ll have to. Straight cut backings help provide a flat and taut foundation for your quilter. Which lets them focus more on the machine quilting, and less on tugging or fudging the backing.
I highly recommend using high quality fabrics that are meant for quilt backings. Quilting cottons and minky. A client once brought me terry cloth, what bathrobes are made from, that she cut crooked and then sewed together. It was horrible to get straight and to quilt. I’ve also quilted other fluffy fabrics that aren’t made for quilt backings…they aren’t easy to work with. Please use recommended fabrics.
I really want to talk about the importance of having straight backings. If you’re new to quilting or have making quilts for years, this may be a great resource for you. I’m going to walk you through a couple of scenarios, the goal is the same…Nice square quilt backings.
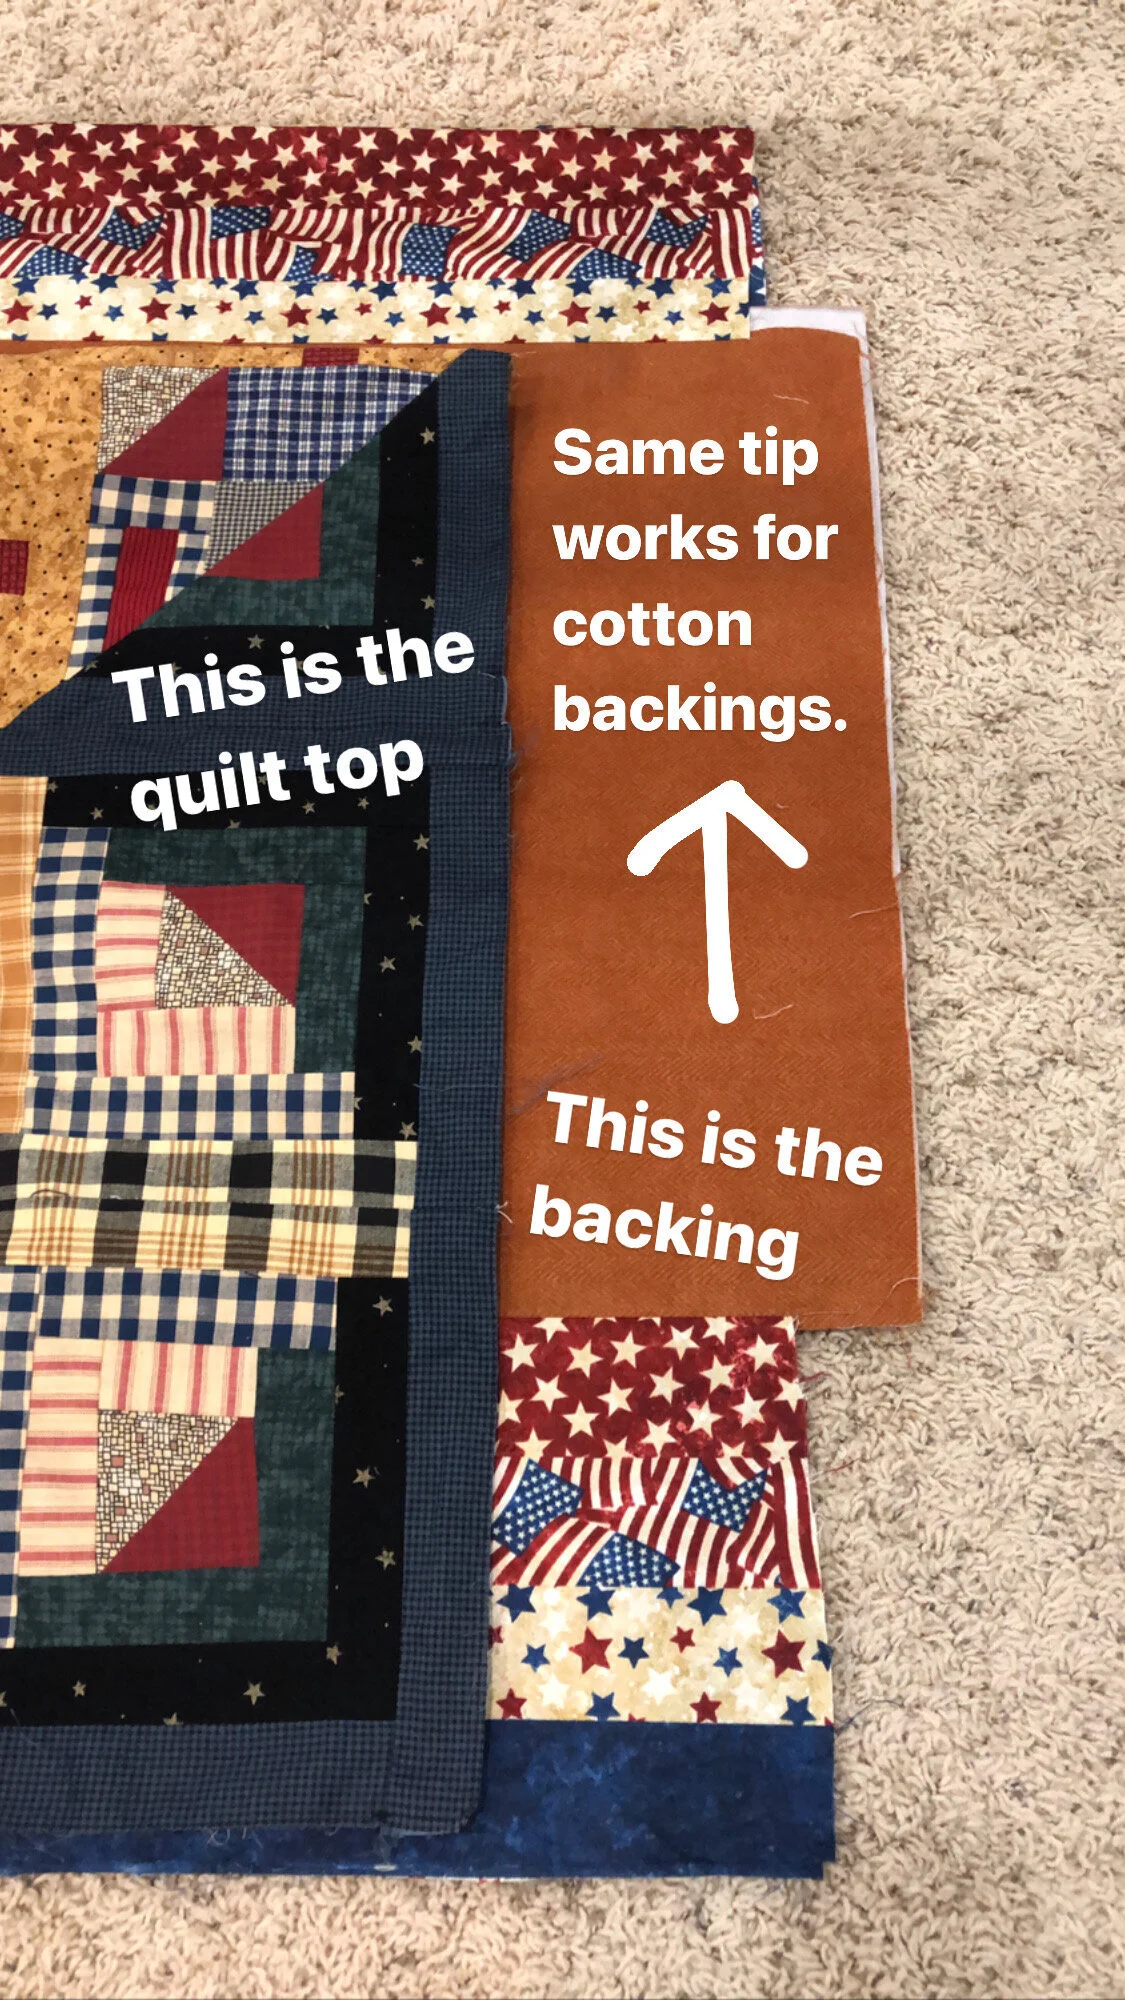
When I go to quilt a quilt, I fold quilt backings in half with the selvages on the ends. (This one needed the sides straightened up…so the selvages are running down the sides.) Then I lay the quilt on top, also folded in half. This helps me know if the backing is big enough for quilting. As you can see pictured above, I make sure that the backing is flat along the fold, not rippling at all. This helps me see just how straight the ends are. Selvages are a wonderful thing!!! Leave them on the ends of your quilt backing, because I pin the selvages to the canvases, they will never end up on the back of your quilt. Selvages provide a straight edge for me or your quilter to pin to their machine canvas. I do recommend trimming the selvages on the horizontal seams in a quilt backing, which helps with bulk. I also prefer horizontal seams 100% of the time, with the exception of minky. Minky must have a vertical seam when pieced. If you have a fabric that is directional, and you don’t want to use more fabric to do a horizontal seam, request a quilting design that looks good vertical on your quilt. When I get a backing with a vertical seam, I turn it sideways so that it will quilt with the seam running horizontal on my machine table. Which means the design will run vertical. Vertical seams can be tight when on a machine table, and also throw designs off because there is bulk right where it rolls up. Also, the sides can sag and become difficult to keep taut.
I ask that quilt backings be a minimum of 4” bigger on all sides, than the quilt top. This helps with quilts that stretch or grow sideways, as well as give me ample fabric on the sides for clamps. I also pin backings to the canvas on my machine table, which takes 1” on the top and 1” on the bottom. The extra inches also help my ruler base when I’m custom quilting, not hit the clamps. It’s also important to note that if I’m straightening up a backing, I’m cutting off some of those extra 4” on each side. If I cut off too much to straighten it, the backing may not be useable…becoming smaller than the quilt top.
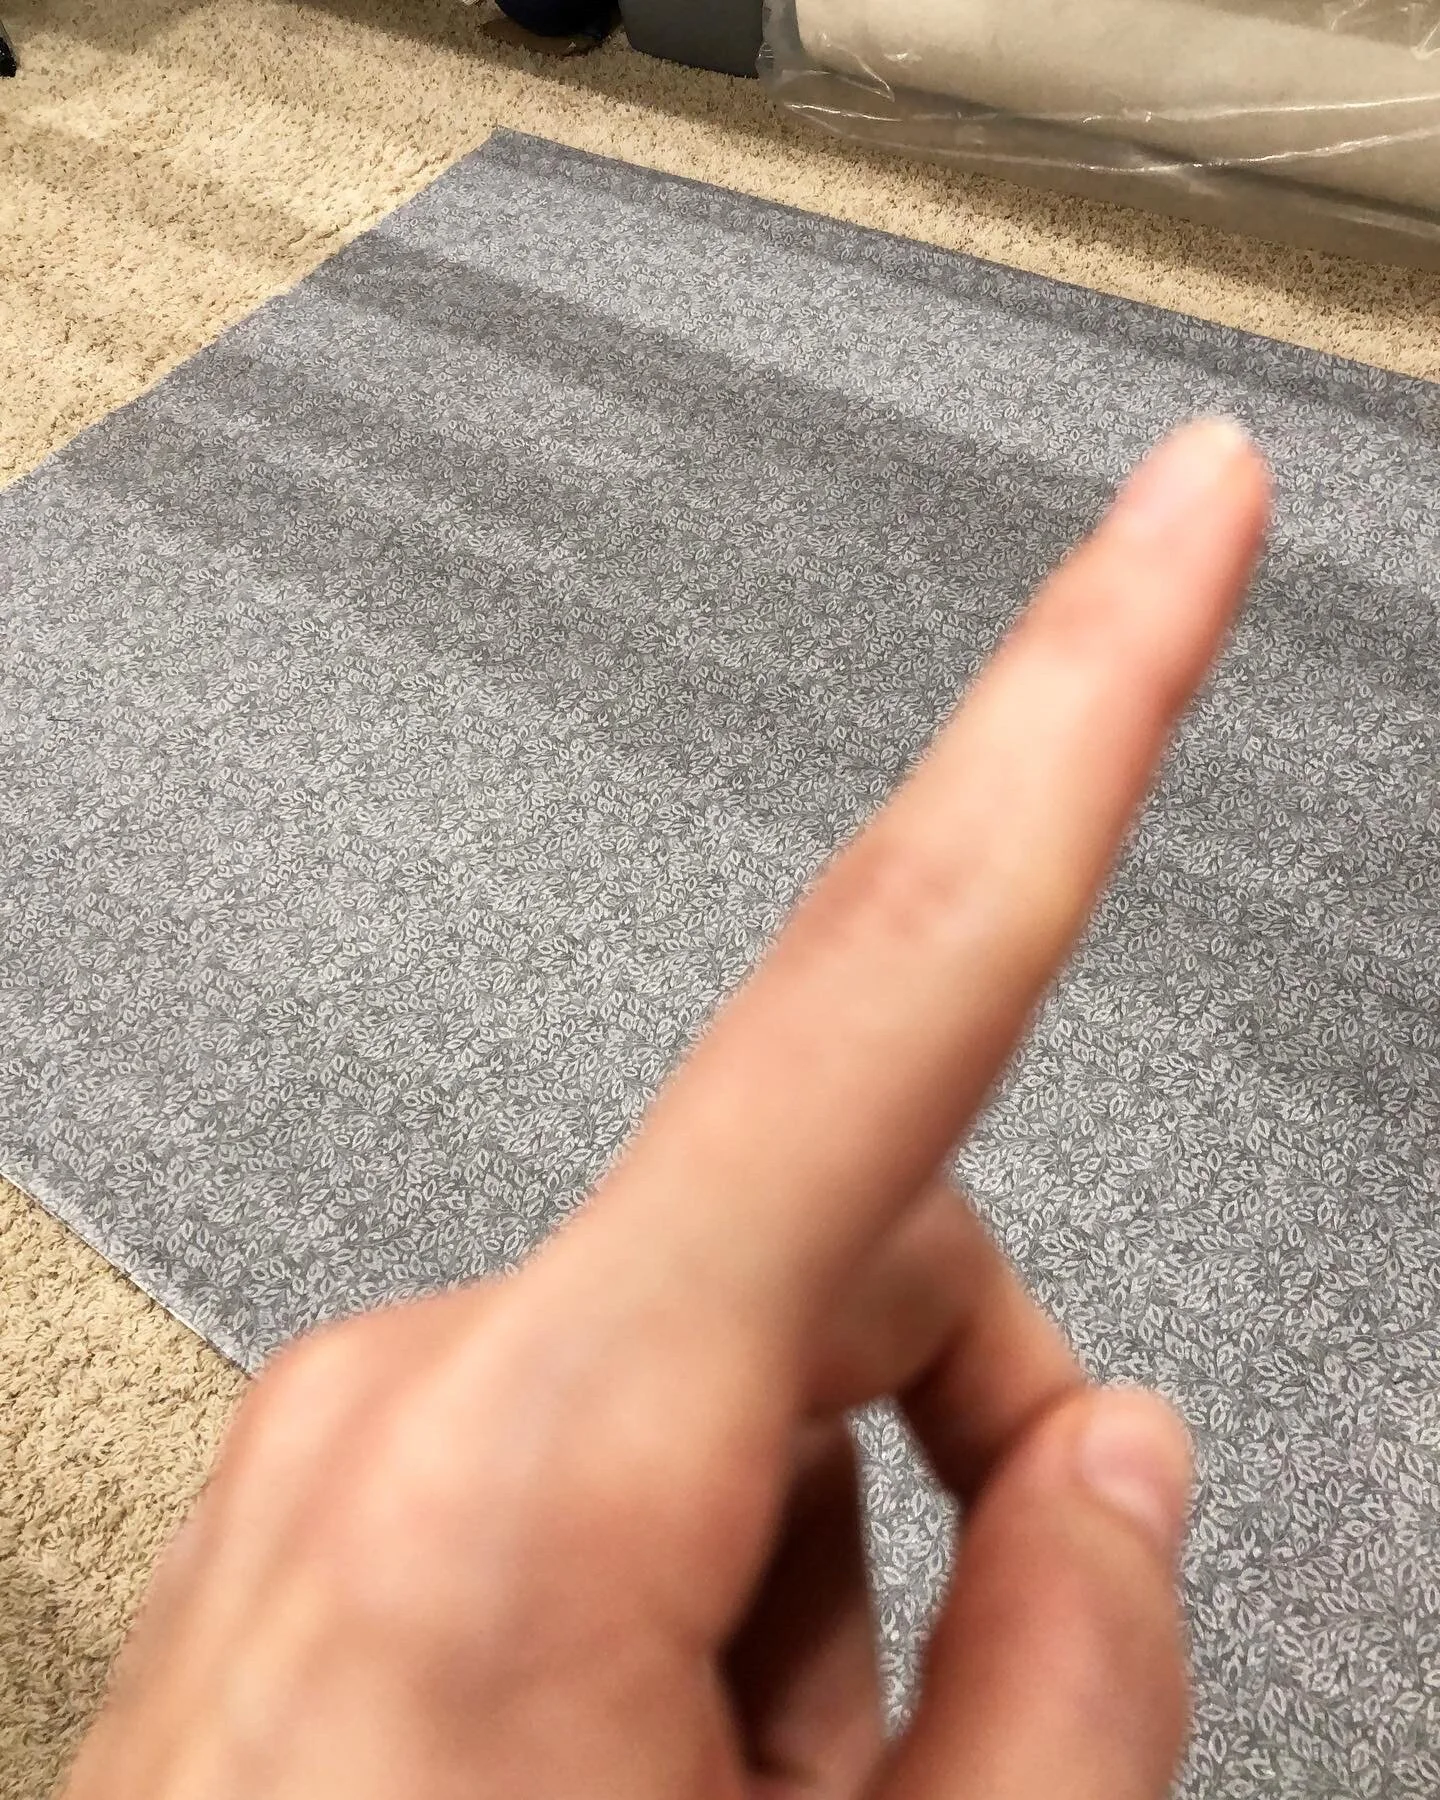
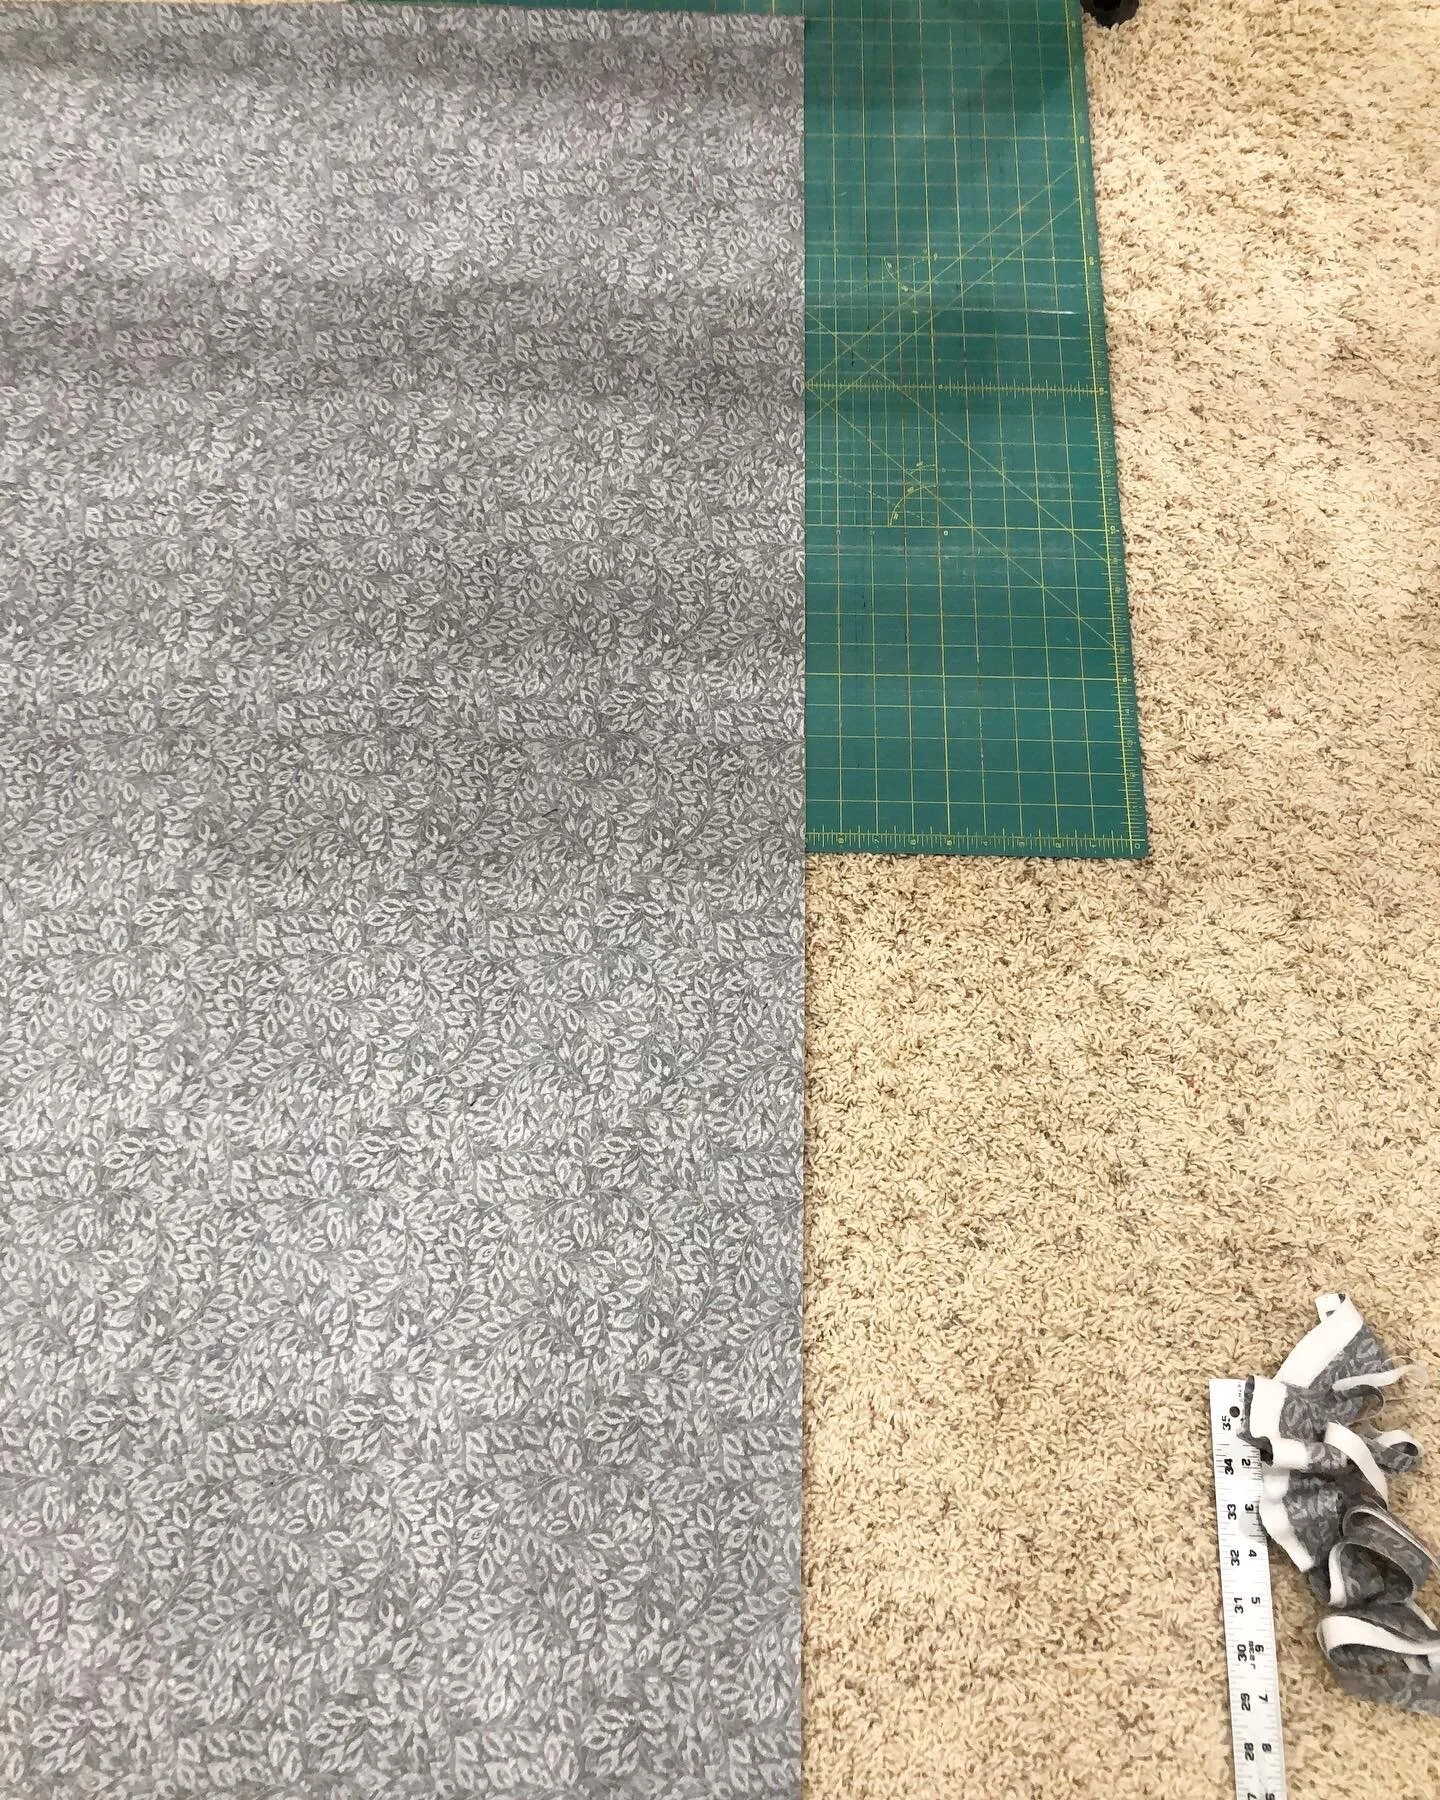
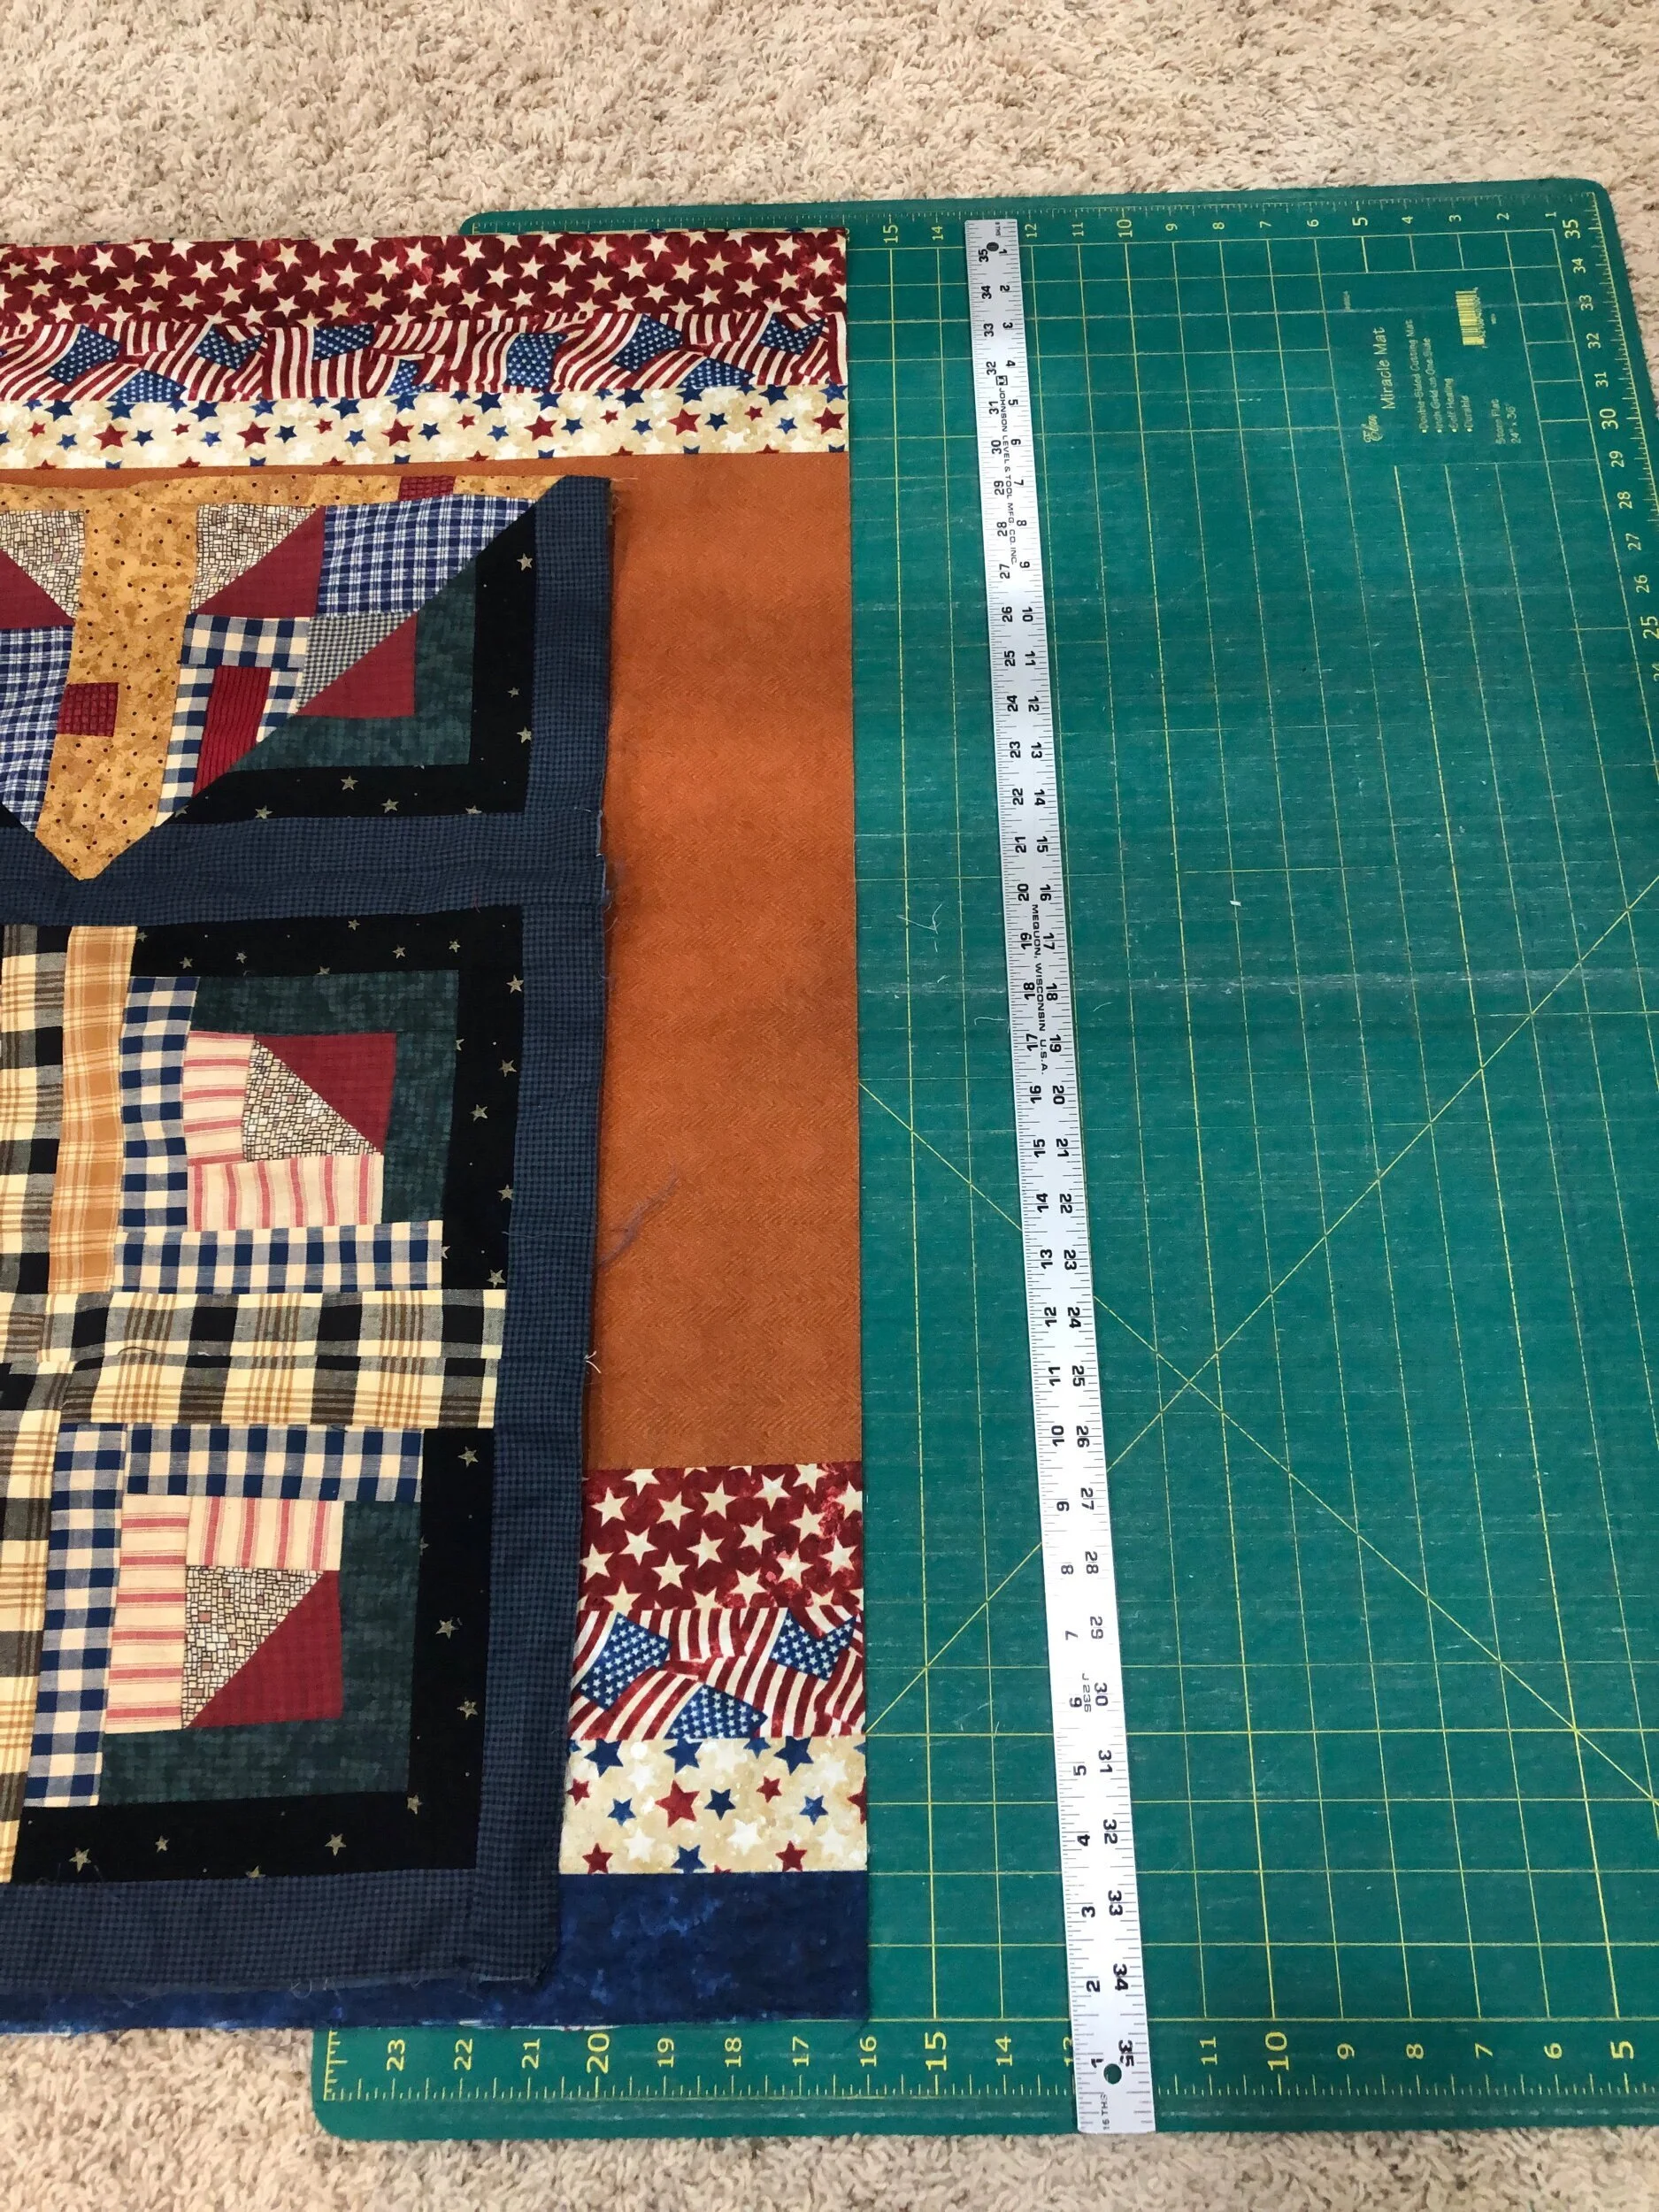
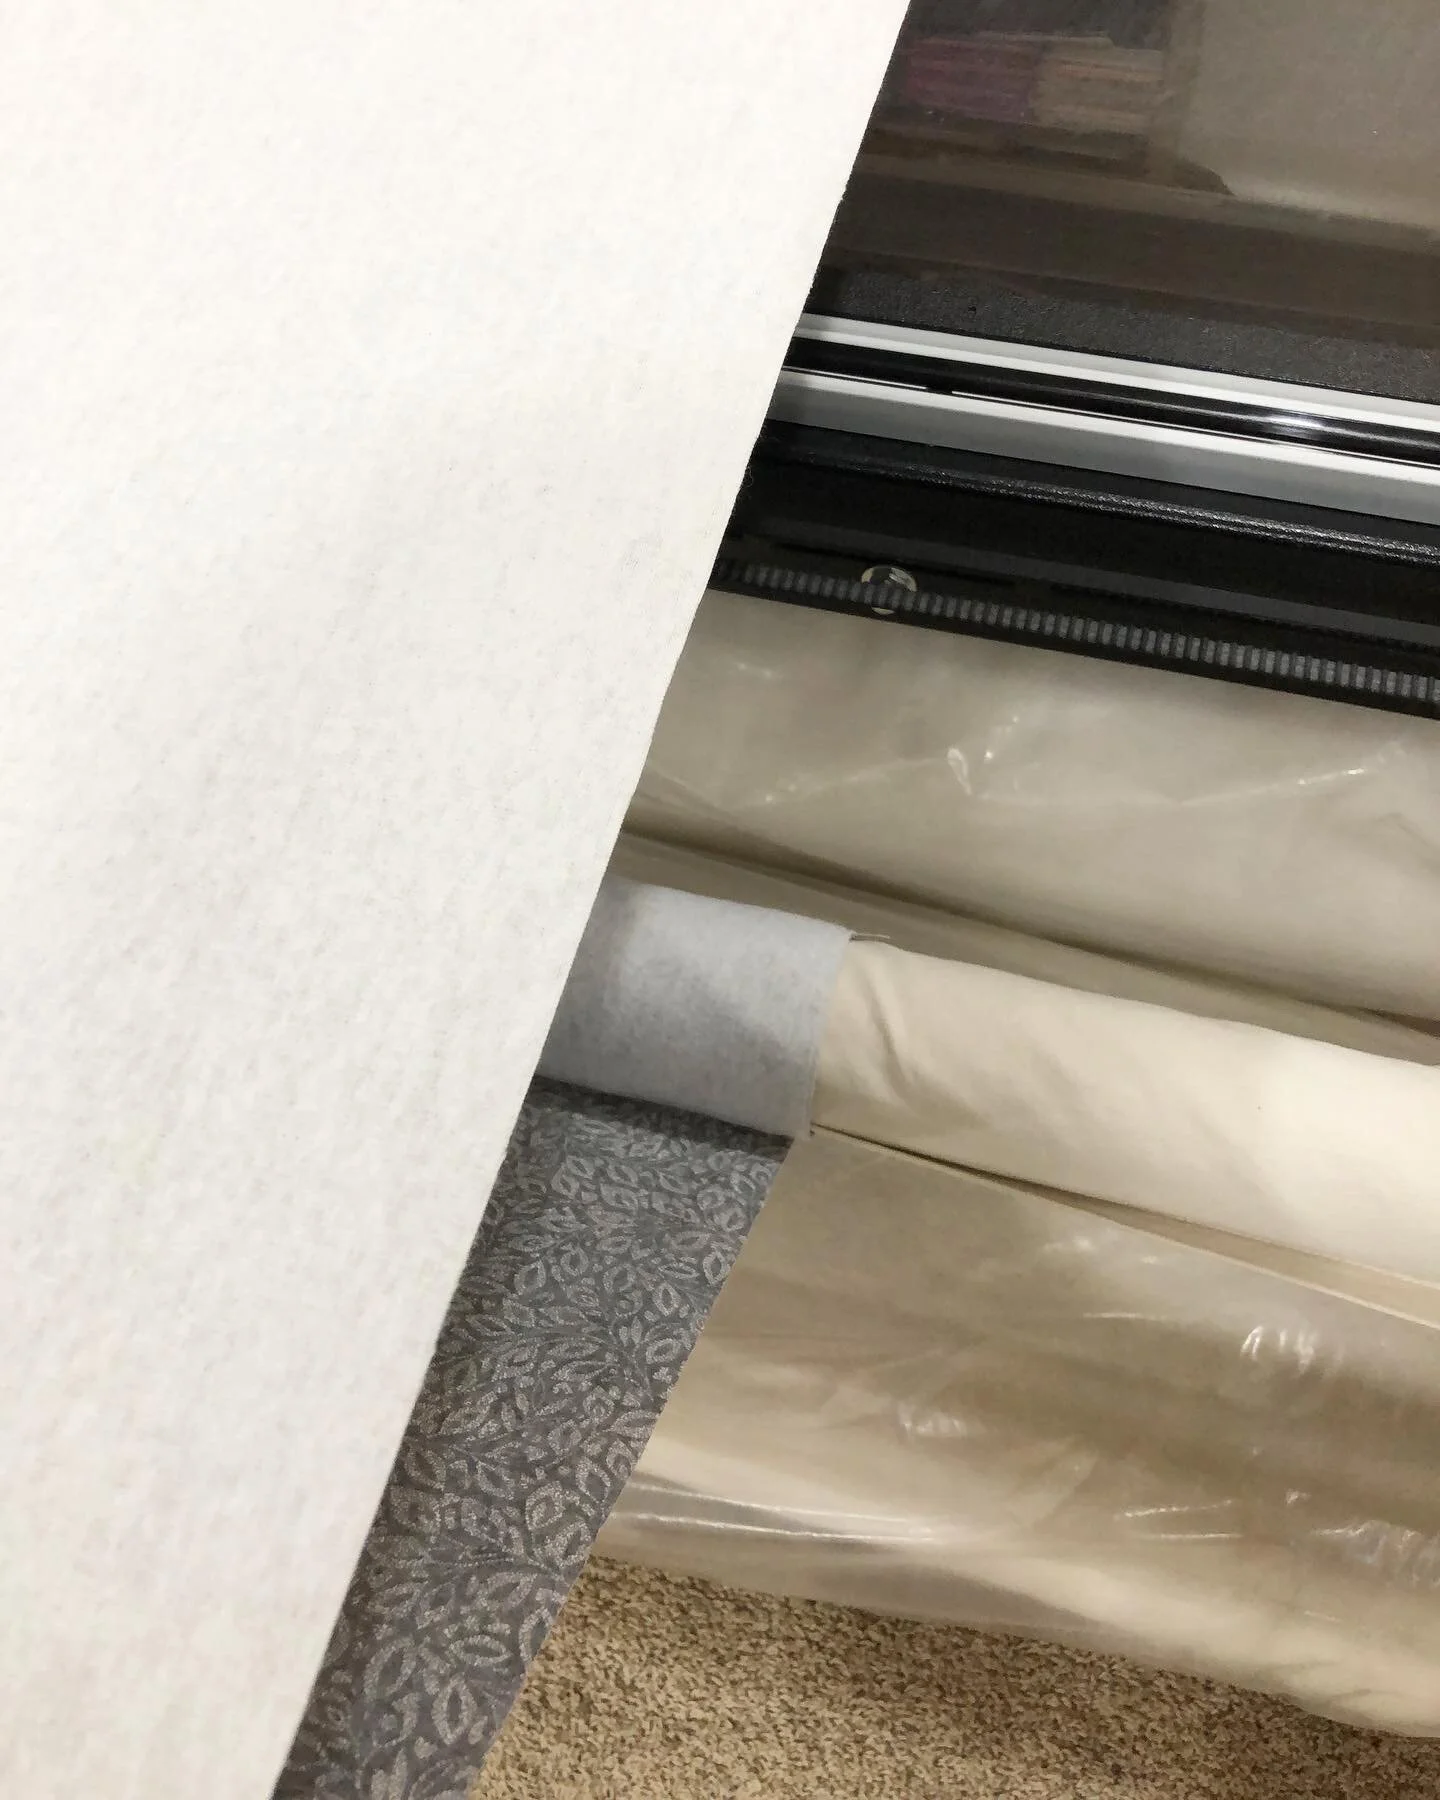
As pictured above and below, this backing is a little crooked, not terribly crooked but a 1/2” can throw things off.
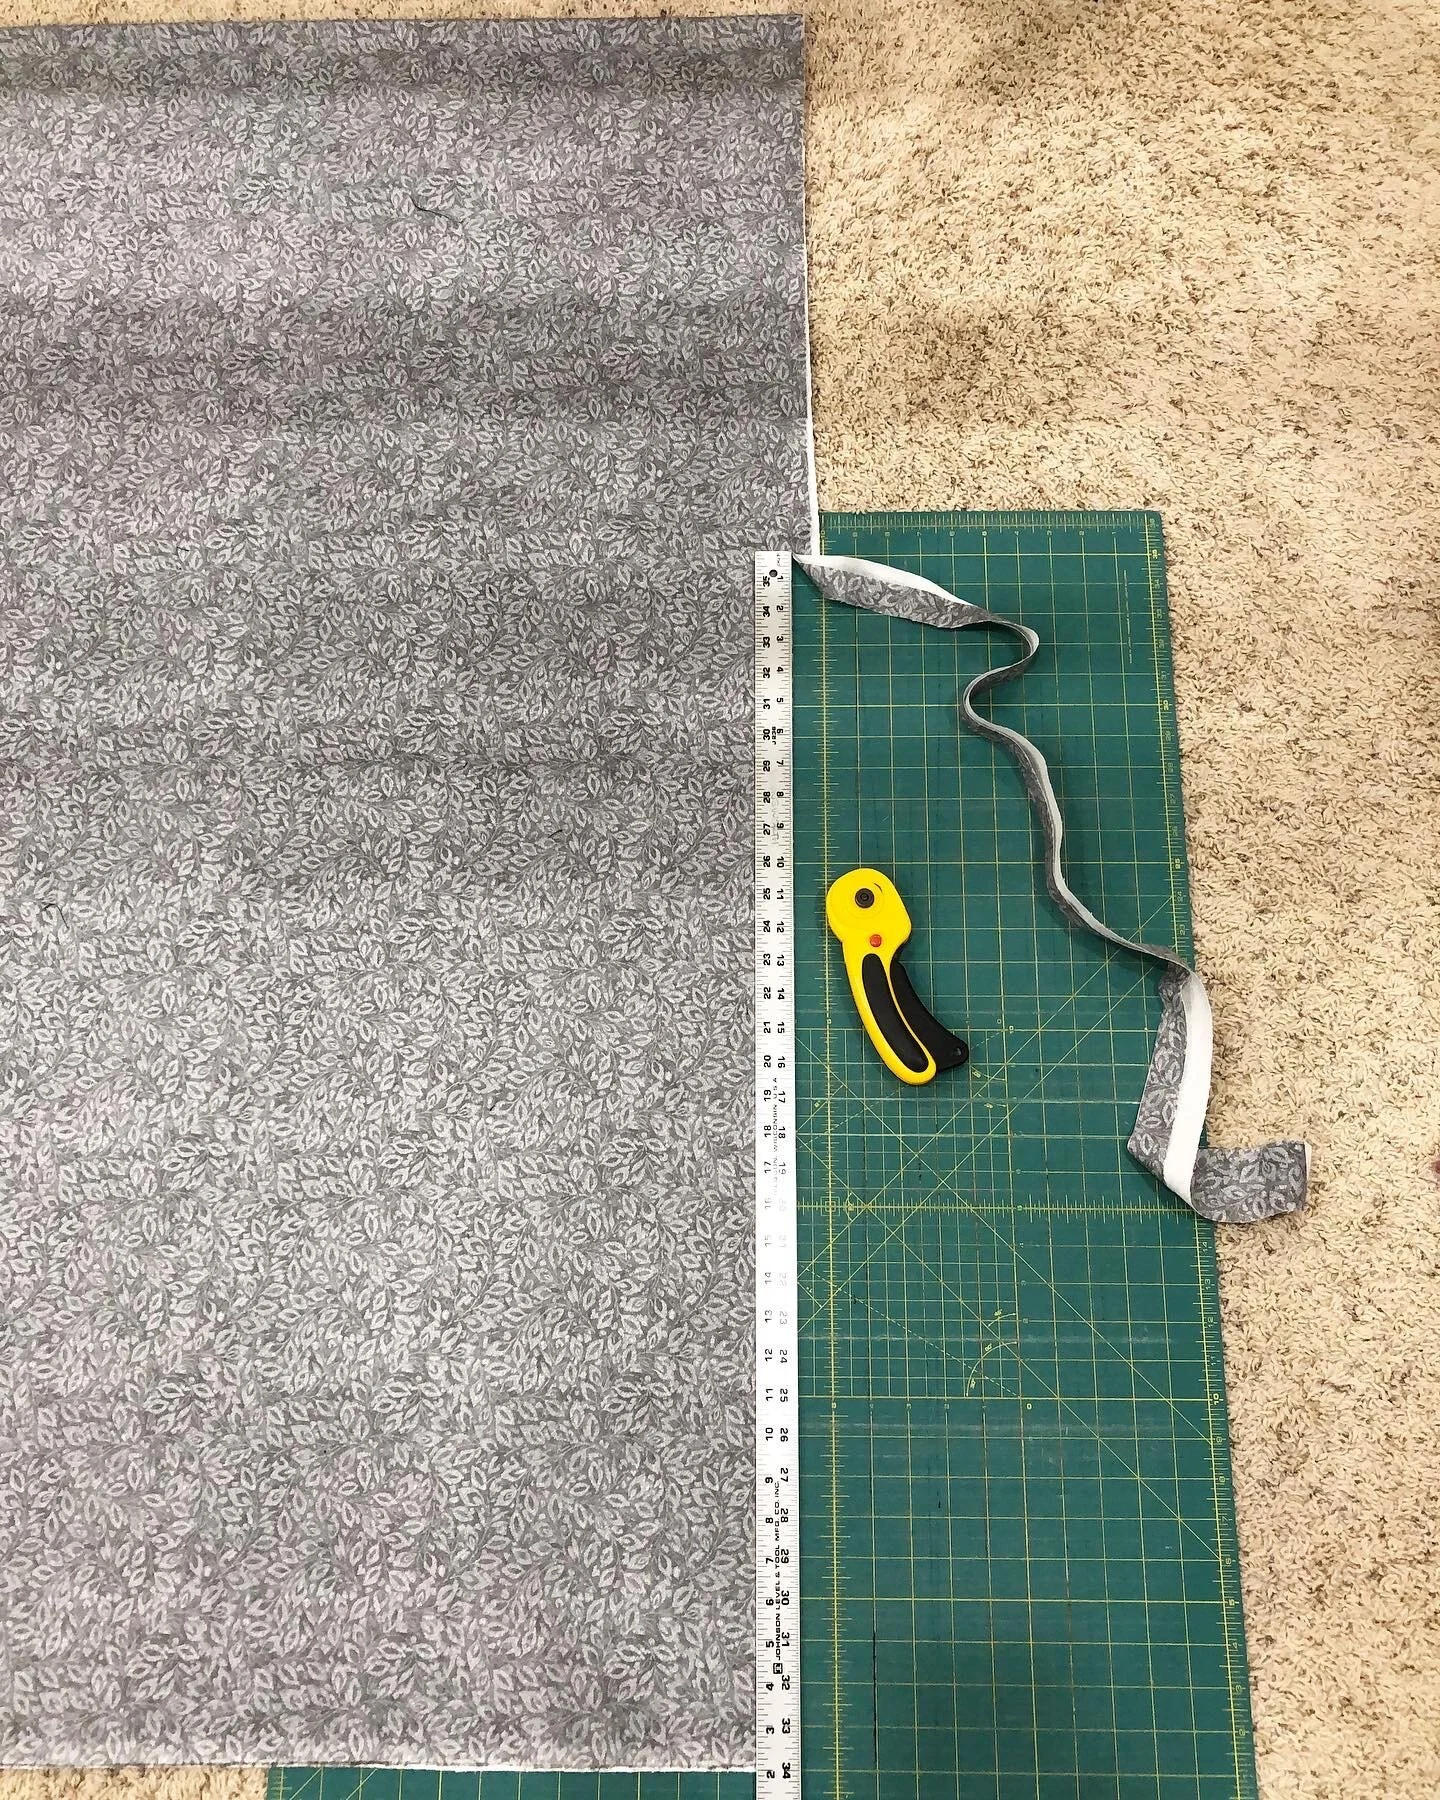
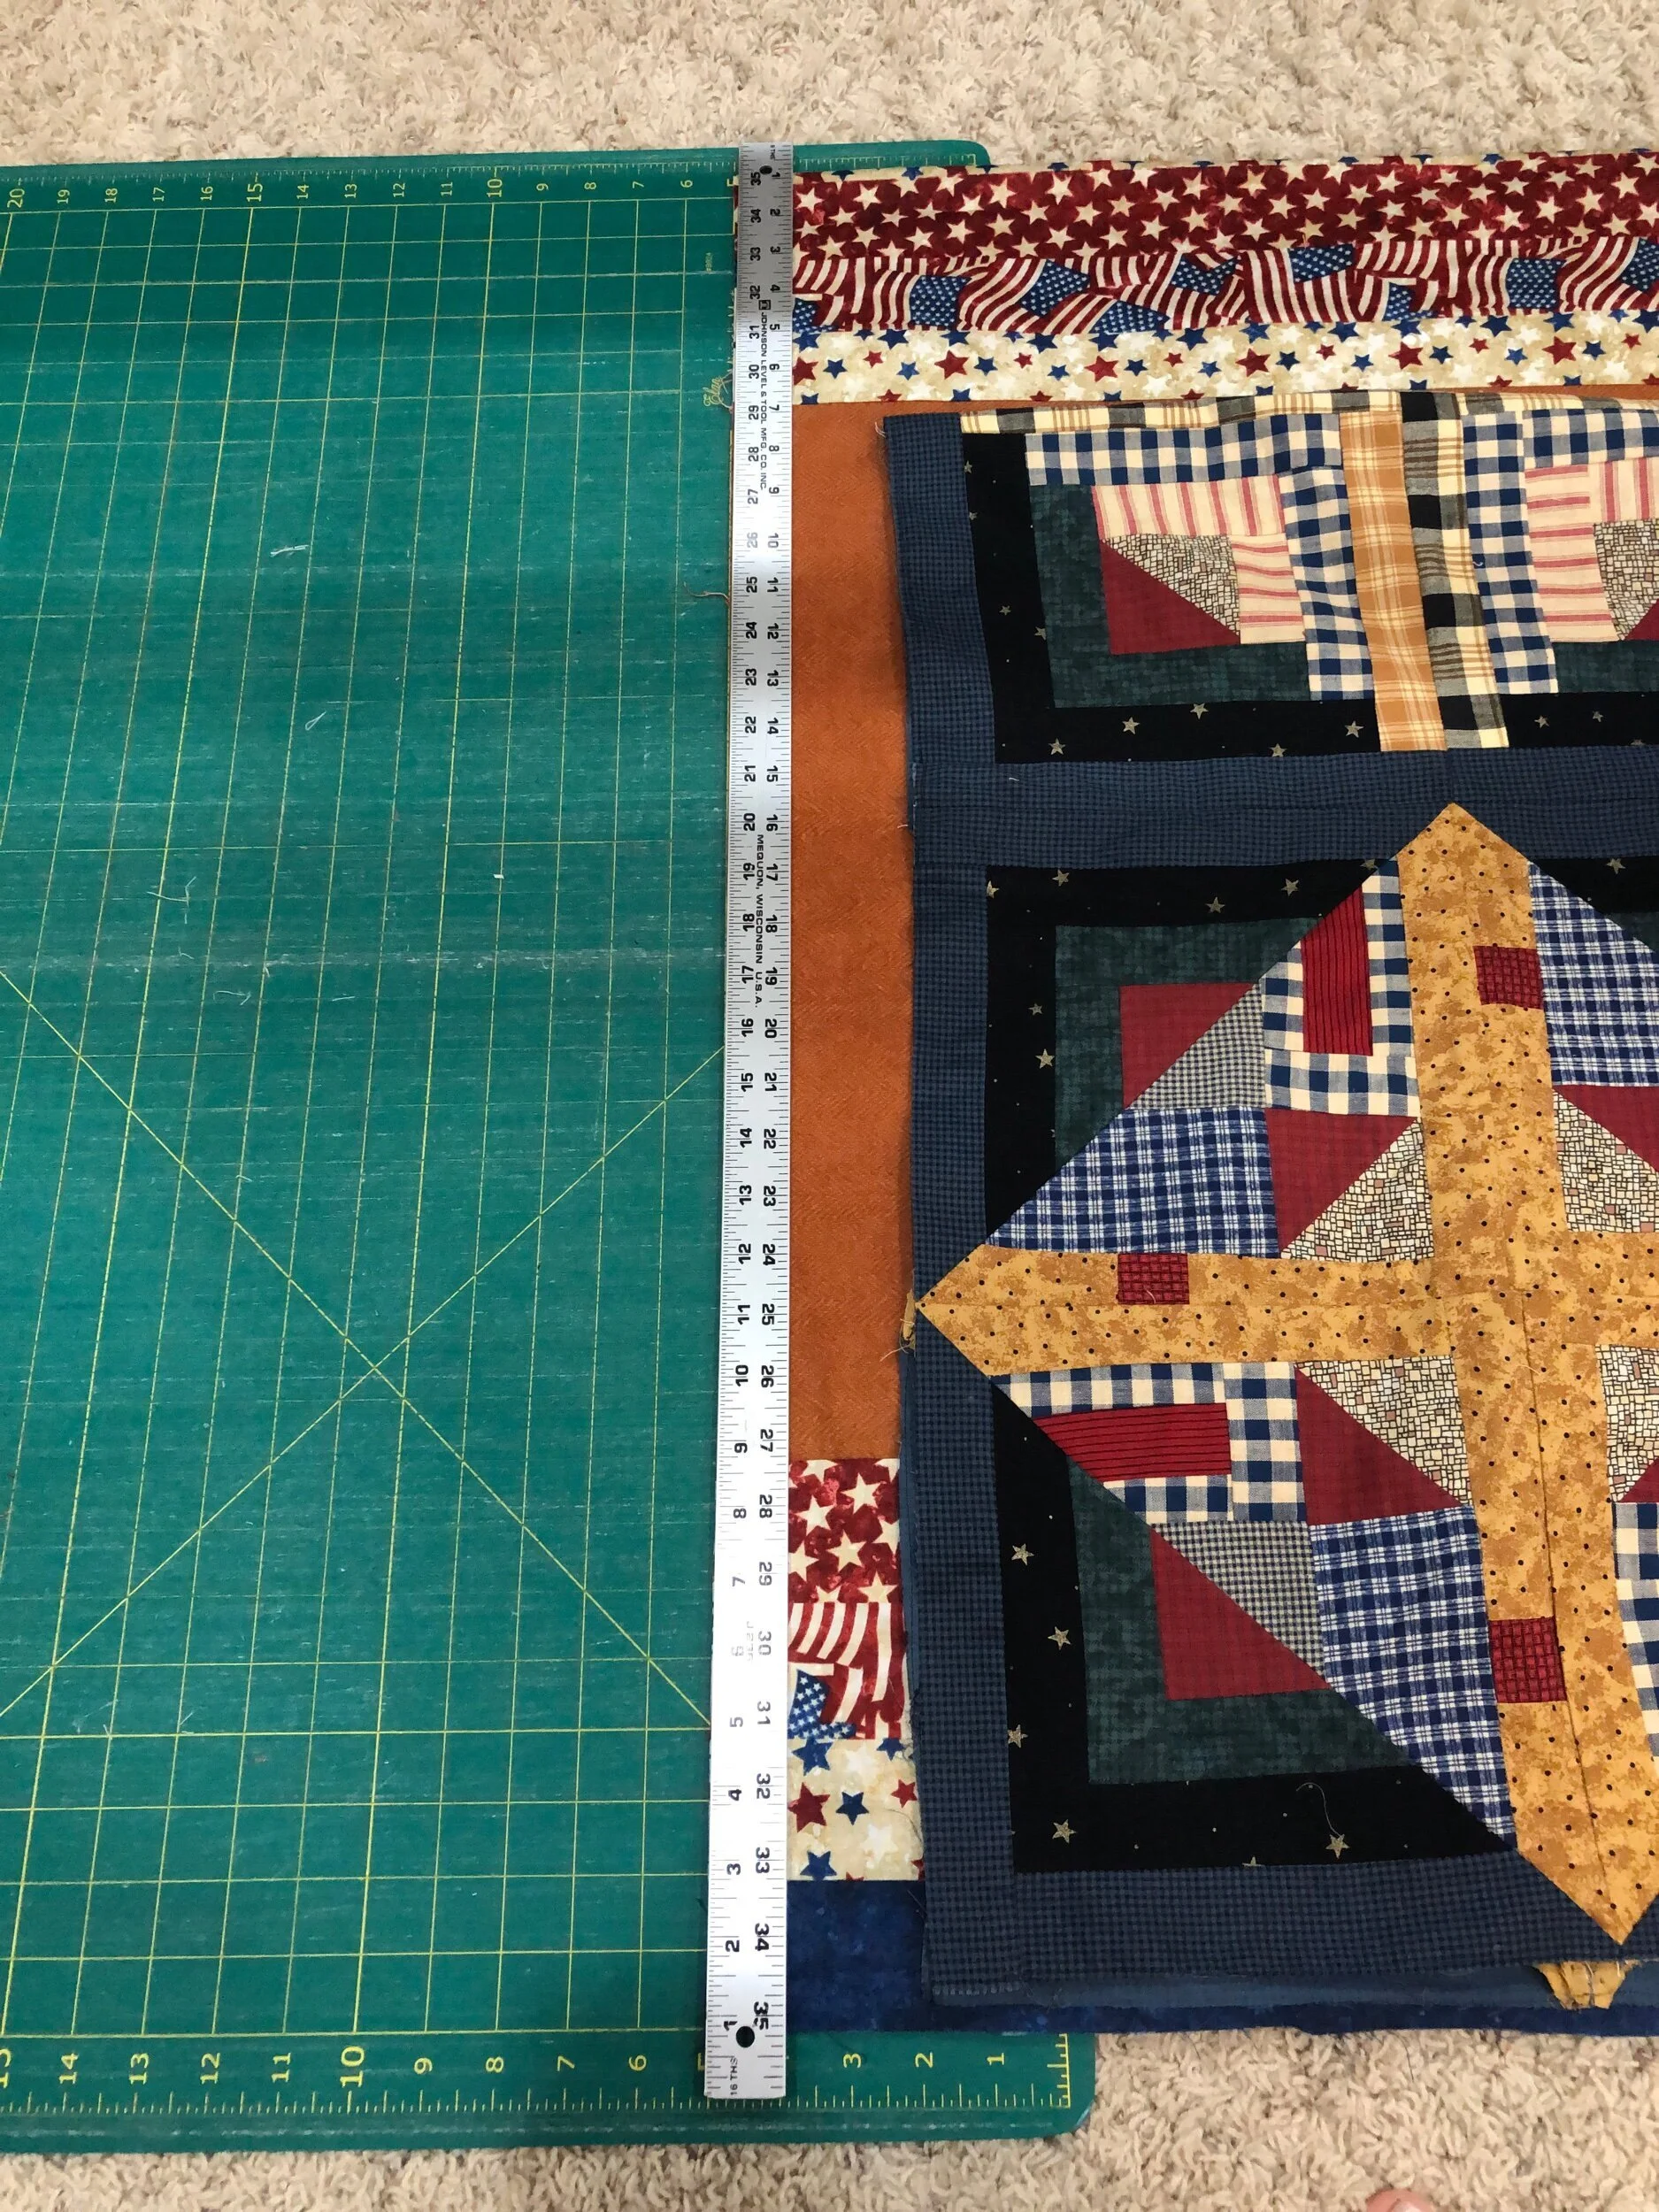
I take a regular size cutting mat and a metal yardstick and cut it straight with a rotary cutter. This particular backing was wider than the cutting mat, so I cut the first part and then slid the mat up to line up the straight cut, to then cut the rest of the backing. As you can see in the bottom picture this one was about an inch crooked. This is the best way to straighten up a backing, that I’ve found. Now I can attach it to the machine canvases on the selvage ends and quilt away!
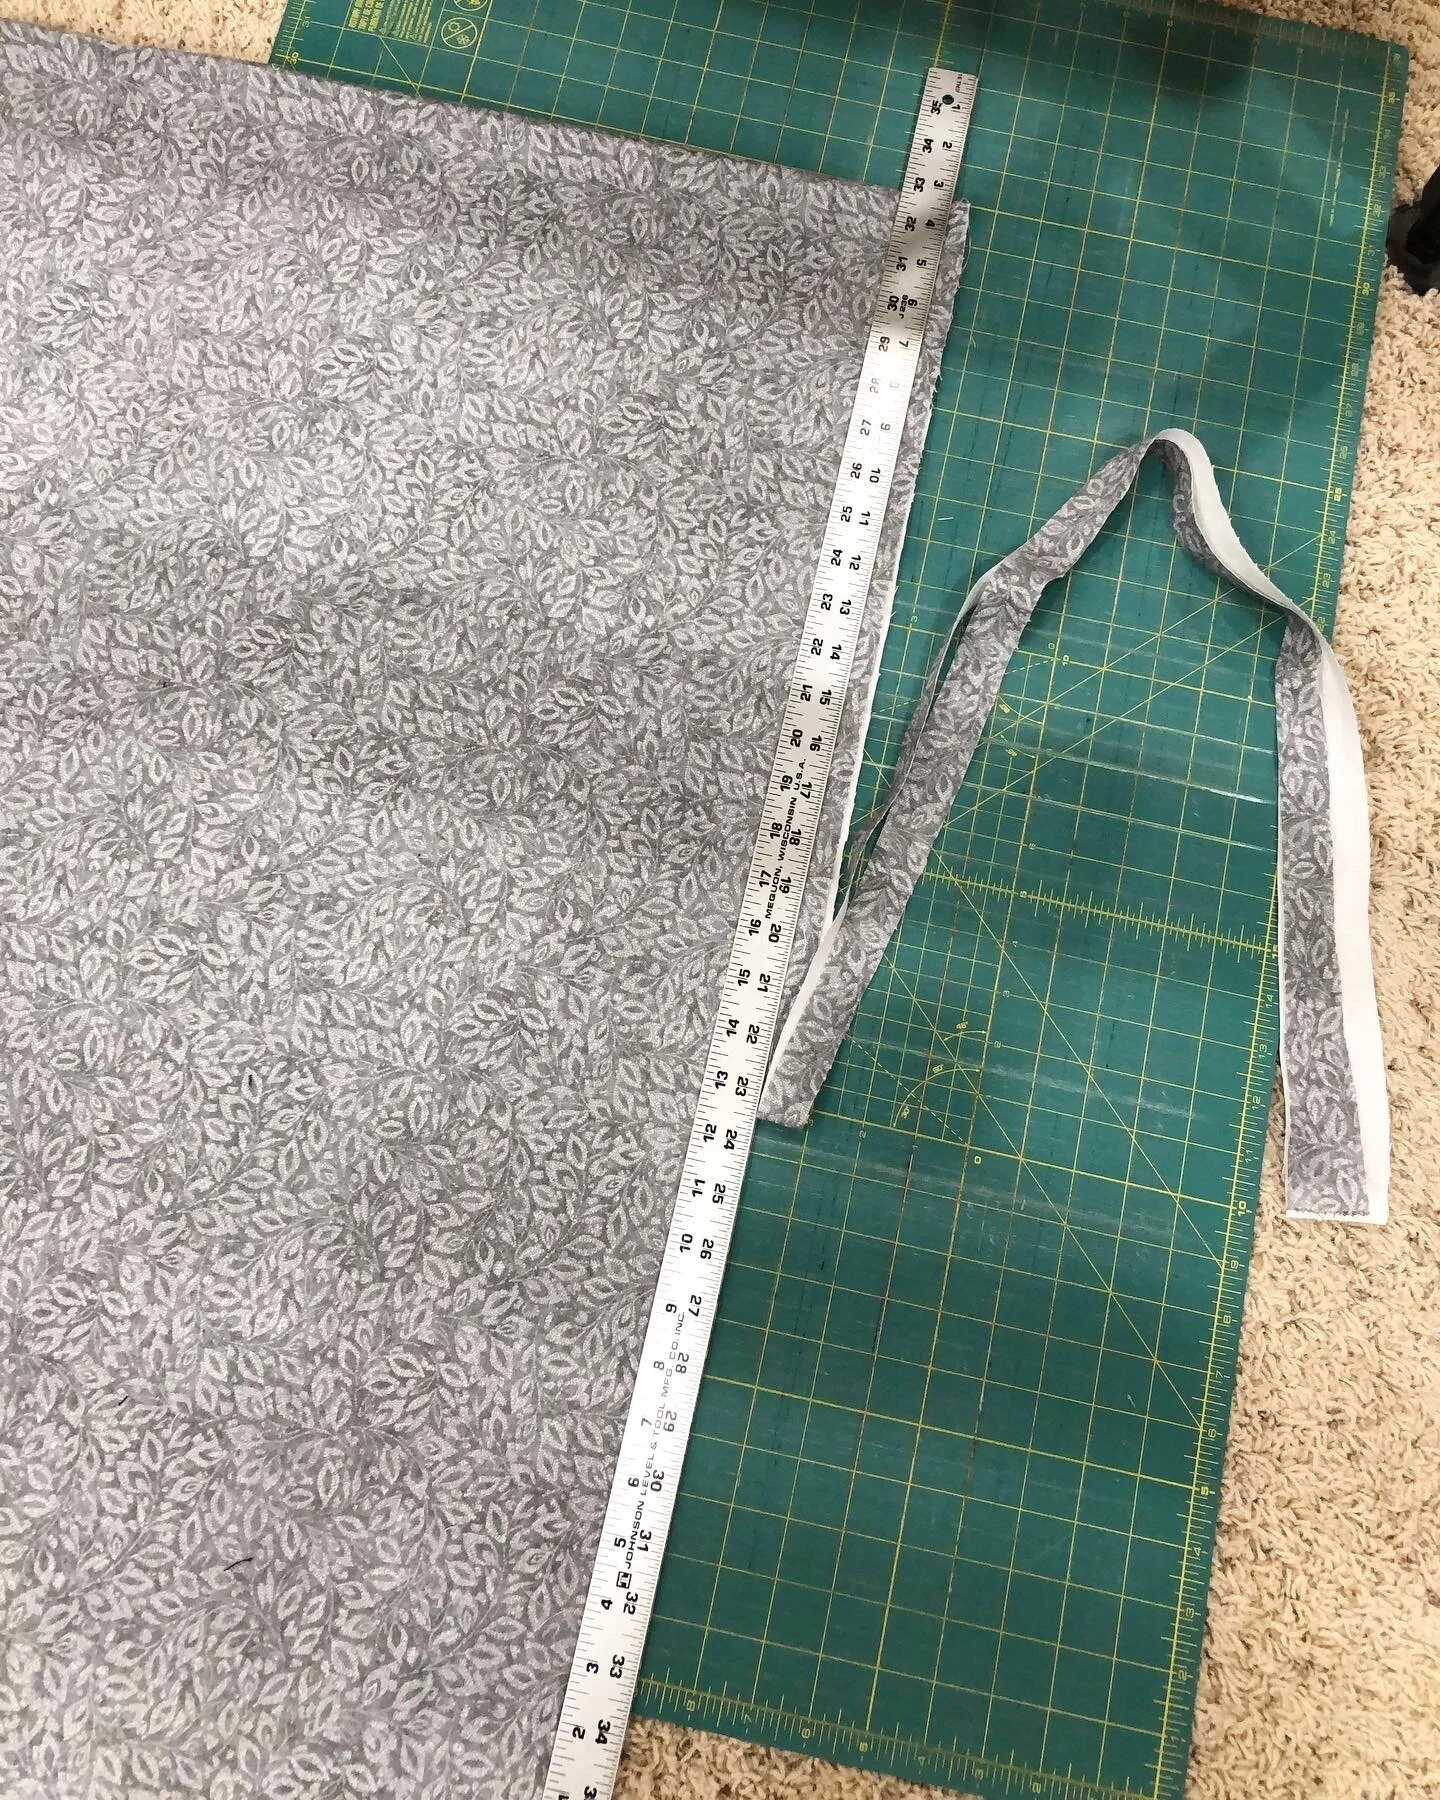
Look at the nice straight cut.
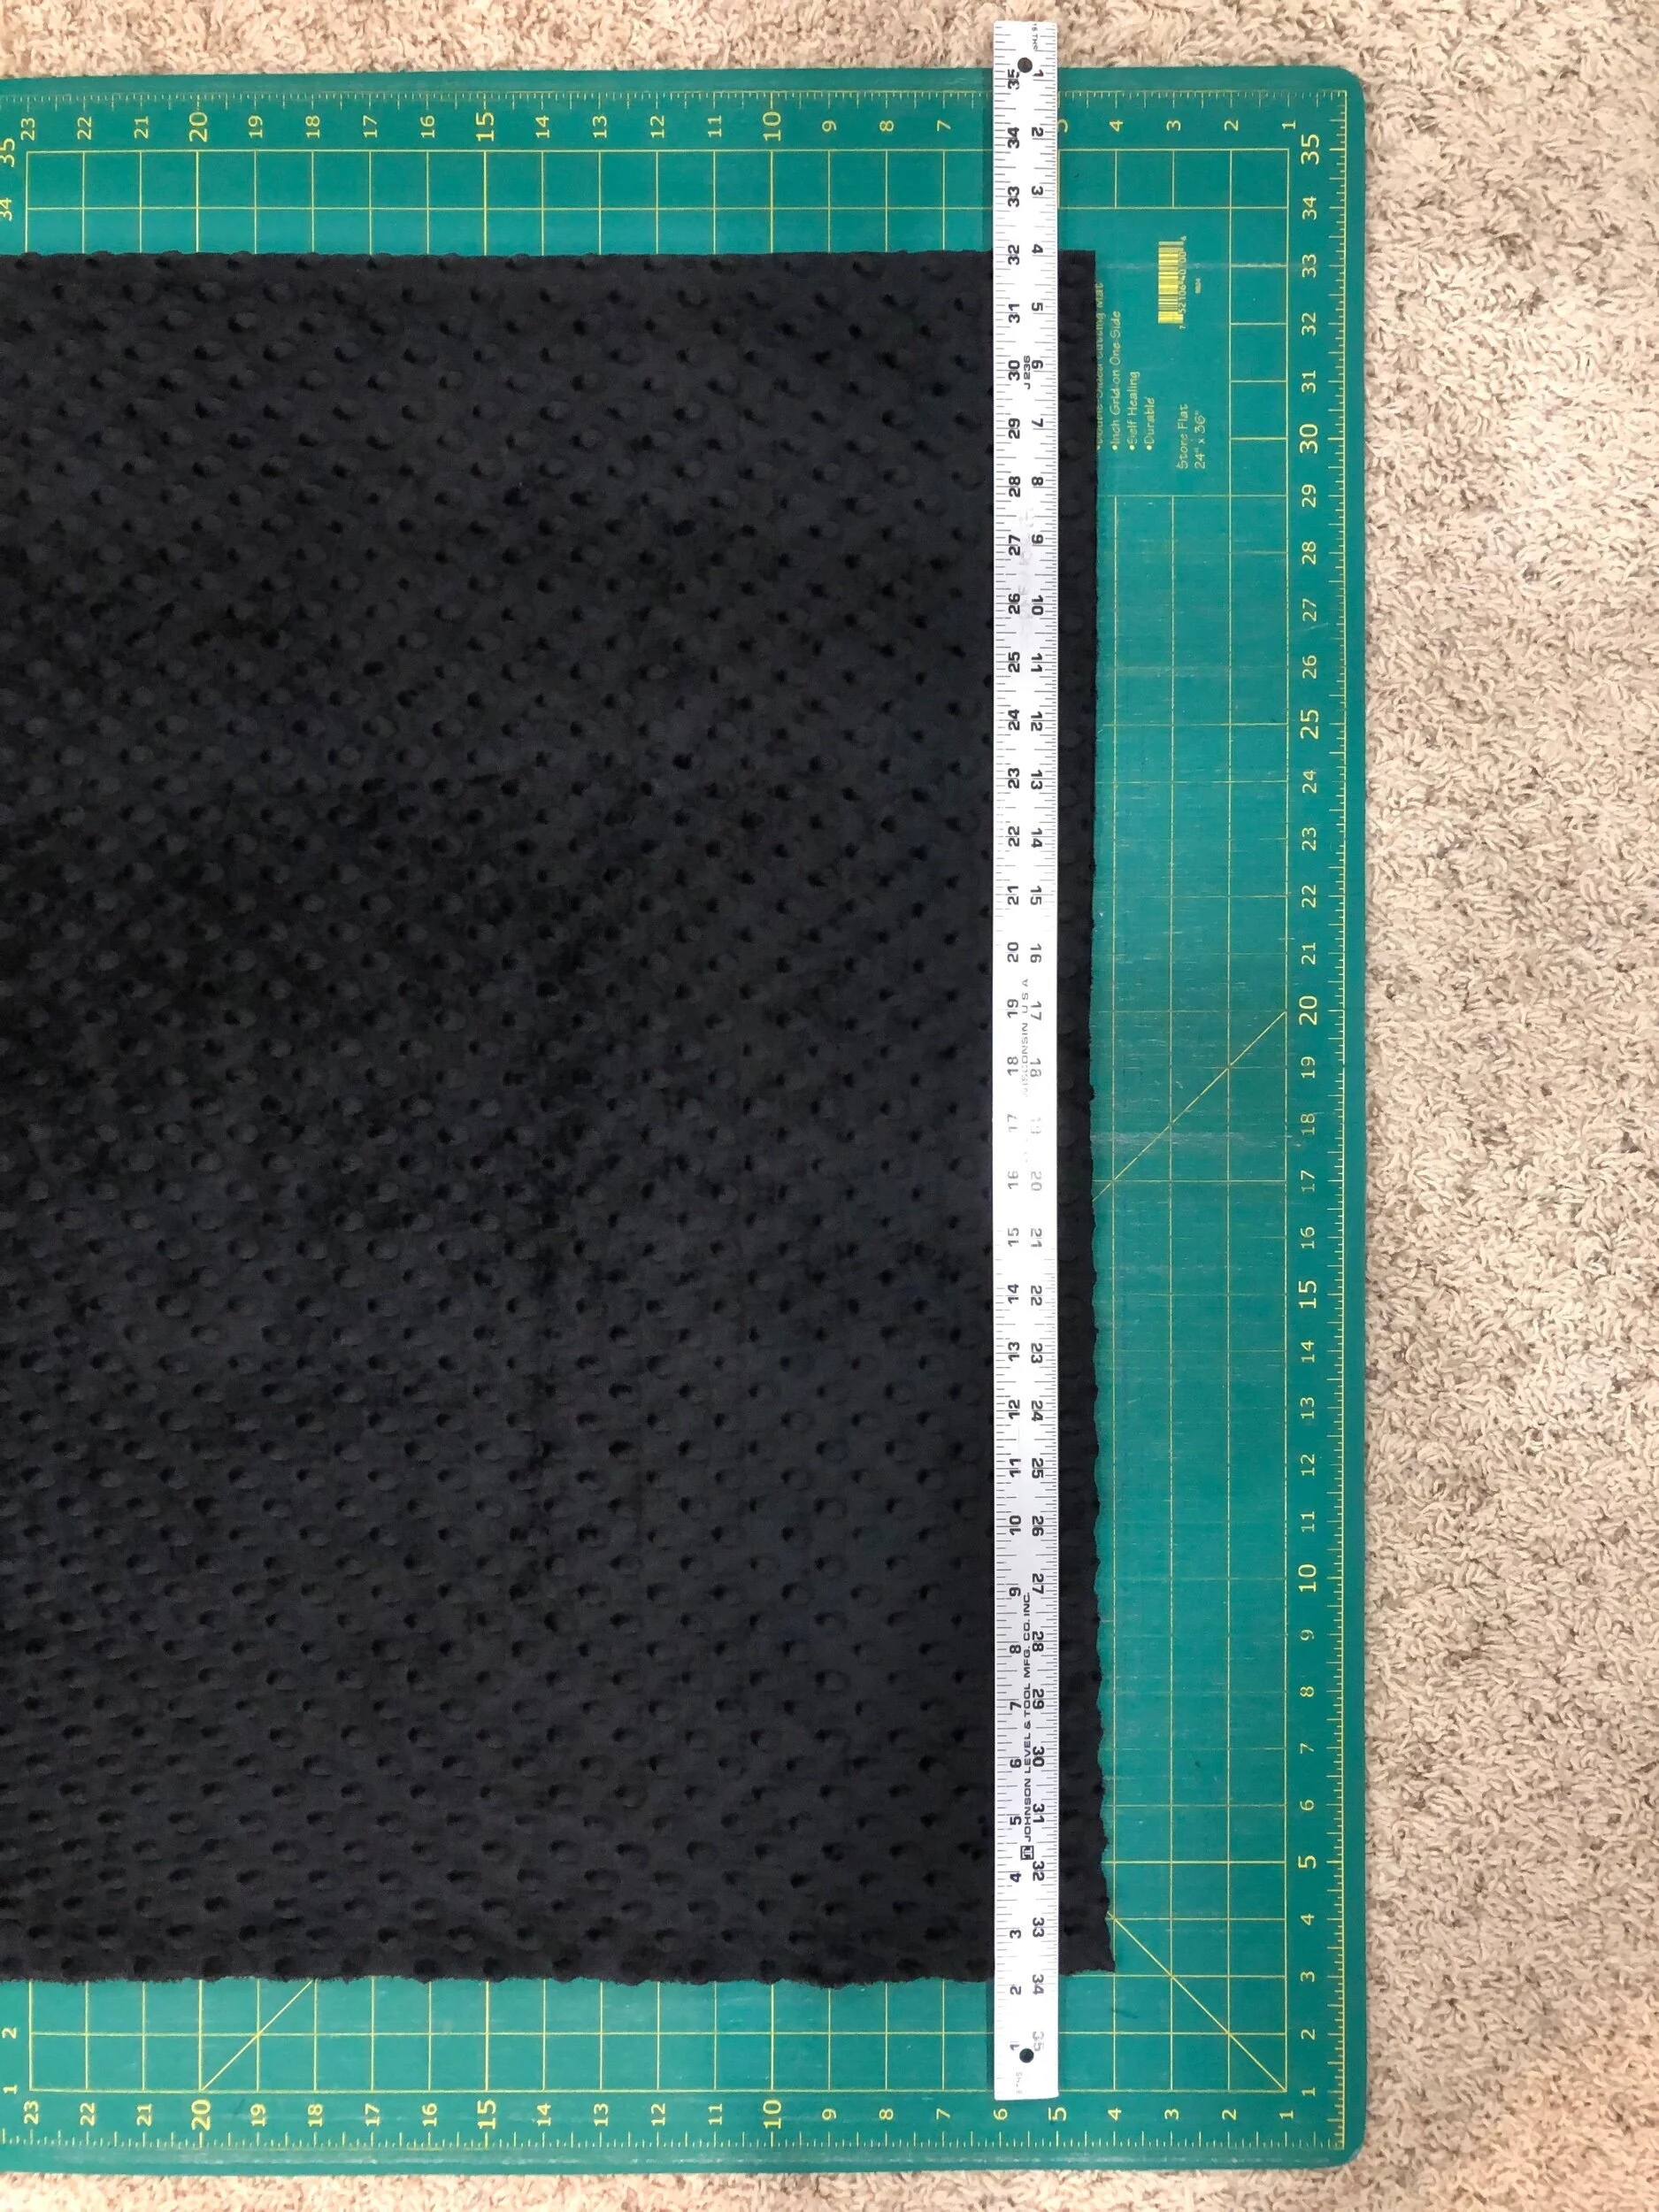
Below is a minky backing. Folded in half with no ripples, ready to cut. The reason minky needs to be pinned to the machine canvases on the cut ends, verses the selvage ends, is because minky stretches more from selvage to selvage. If I were to pin the selvage ends of minky to the machine table, it would stretch too much as I’m quilting it. It’s like pulling a rubber band, quilting it and then letting go. It bunches up. Side note: I always pin minky on the canvases with the nap going down. Run your hand along the fabric to determine that. It helps with less minky pulling through the top when you’re quilting.
The minky is folded with selvages on the sides. Straight with no rippling along the fold. I highly recommend minky that is 90” wide, so it doesn’t have to be pieced. It’s much harder to get straight cuts when minky is 120” wide. Which is two 60” pieces sewn together. If you need to piece minky here is a video I did awhile back that explains the process. https://youtu.be/g2SDbAcL56g If minky is pieced it must be pieced with the stretches going the same way, or part of the backing could bunch up, while the other parts don’t.
This minky is 60” wide, so I can cut it in one cut.
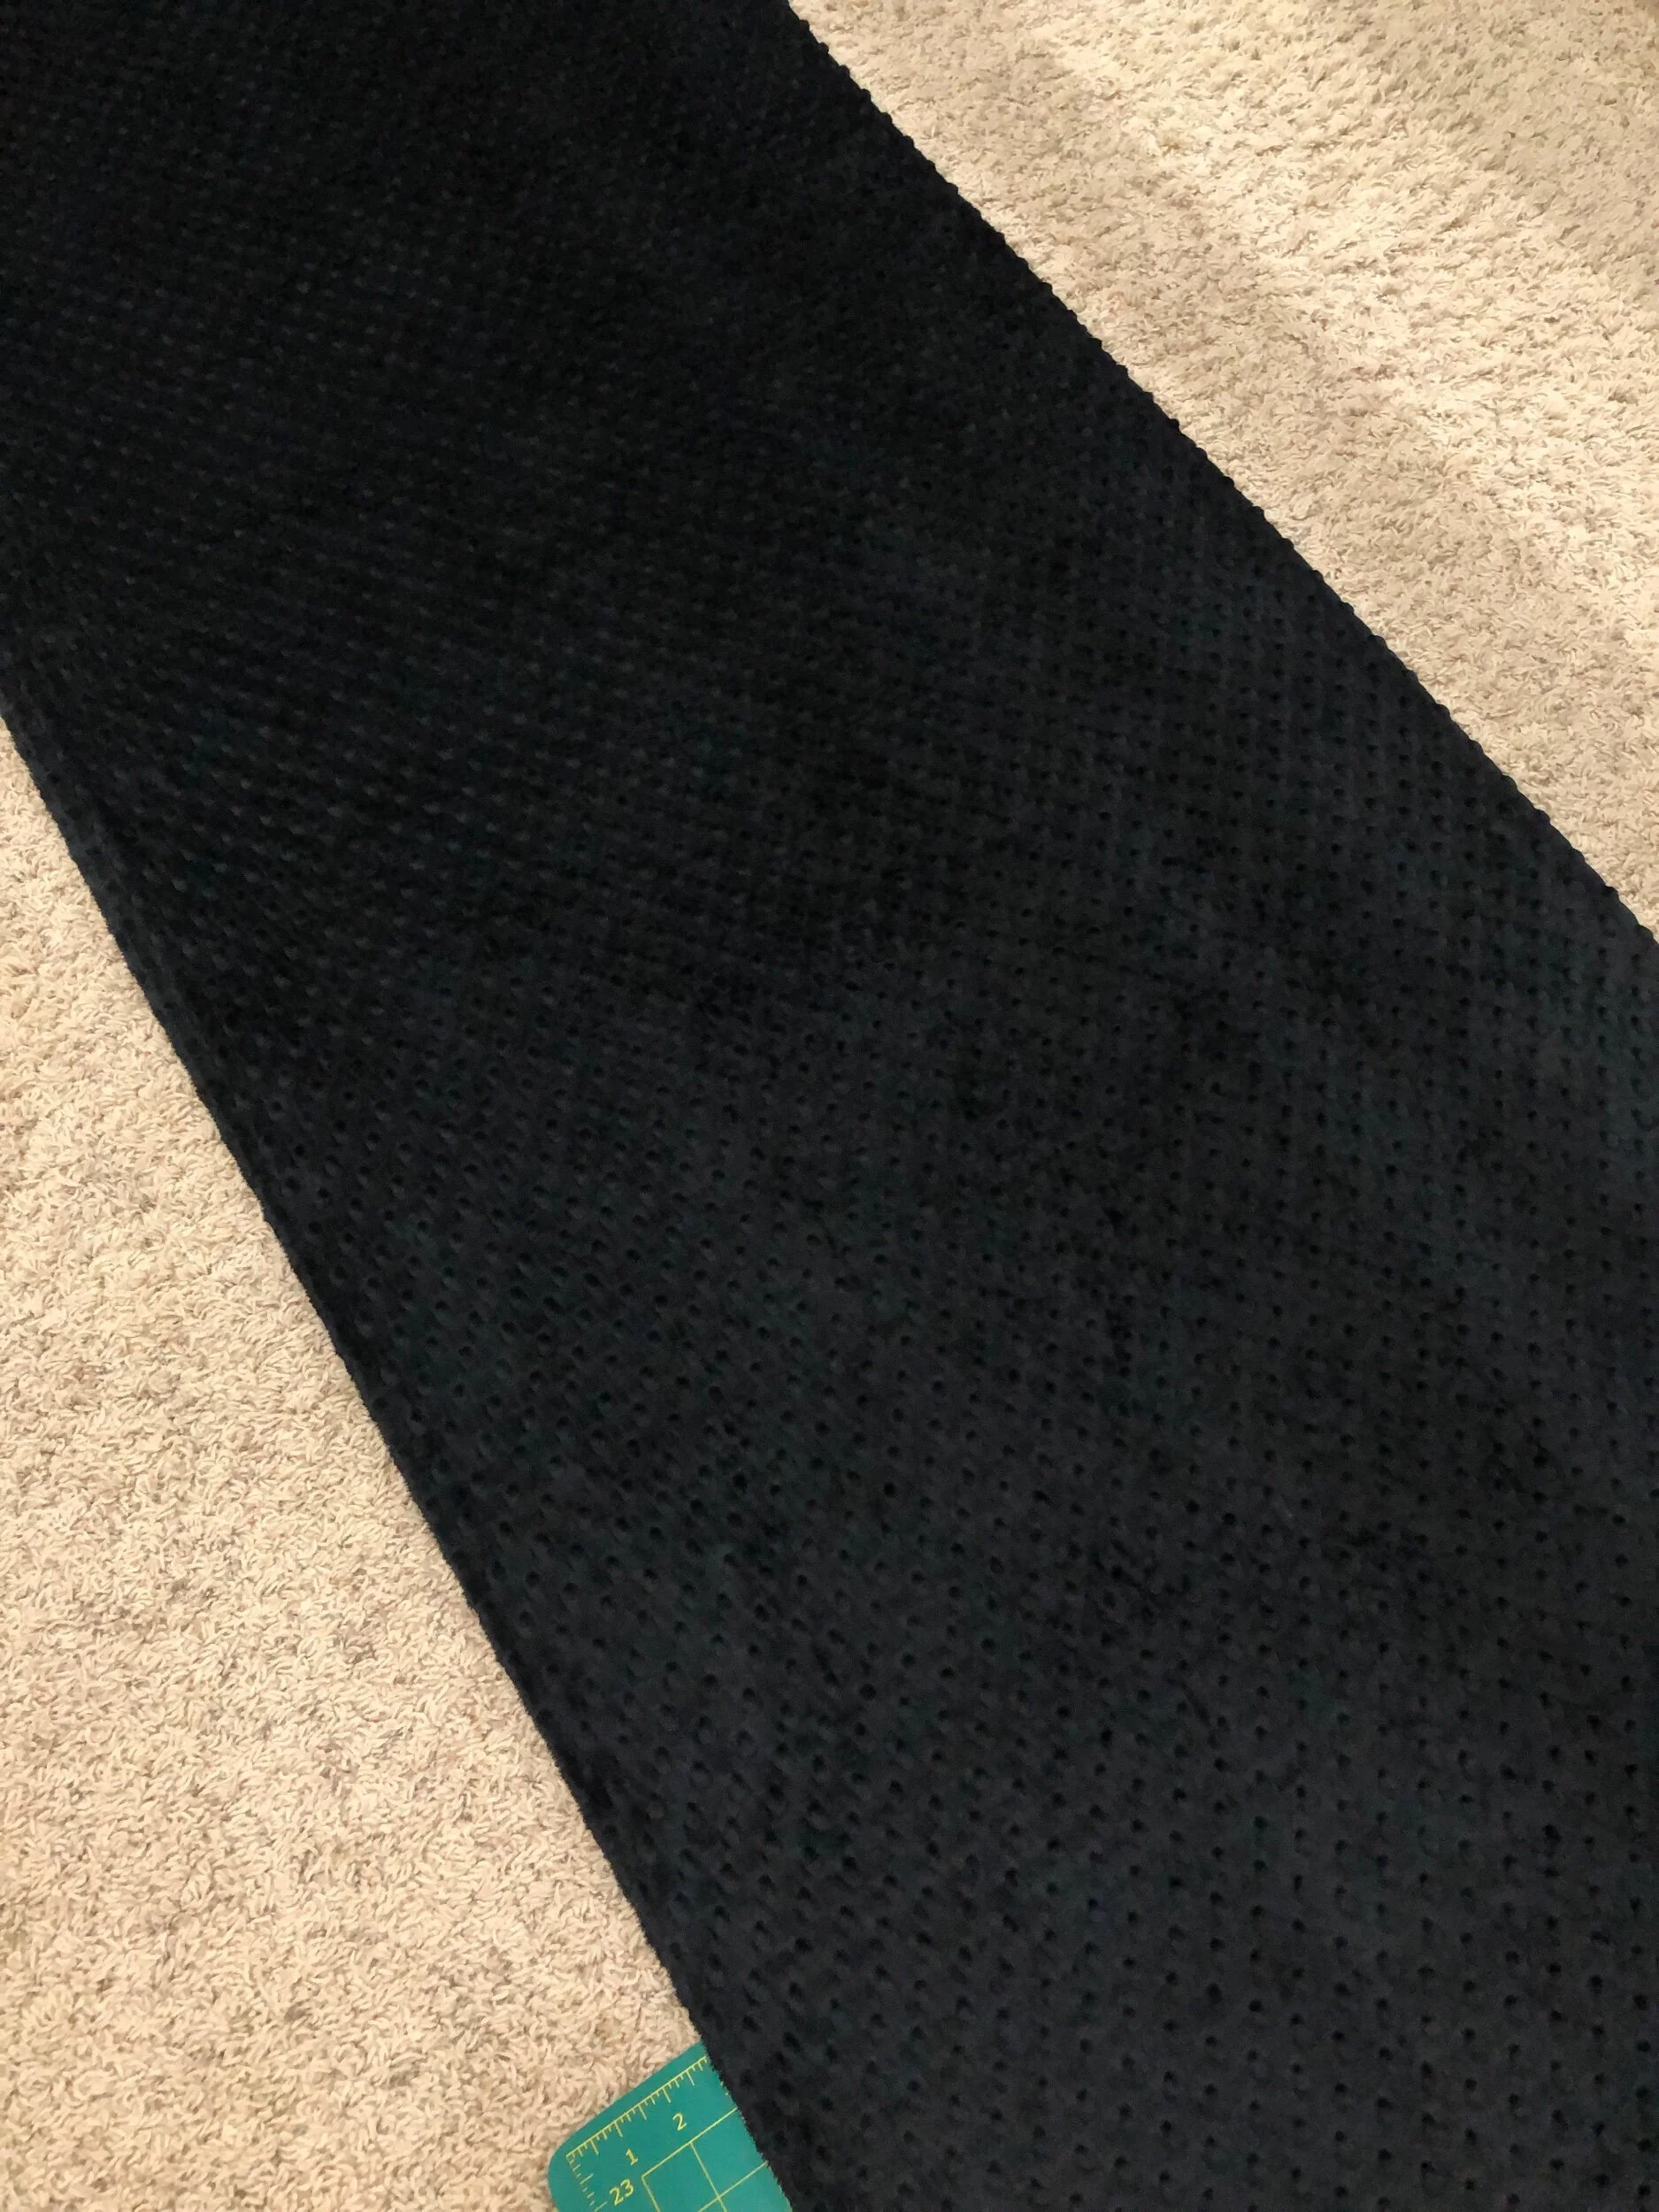
Same thing goes with scrappy pieced cotton backings, like shown below. Look how crooked that is. I can’t pin that edge to the machine canvases.
That’s more like it.
Same thing on the left side. Pieced backings like this can be crooked. Cut crooked and then sewn on that cut line, I do the best I can. I can only work with what I’ve been given.
Now let’s talk about ripped backings. I know it’s great to not have to sew a backing together, it’s definitely my least favorite part. Most ripped backings I get are the 108” wide quilt backings. I very rarely get a straight ripped backing.

Can you see why I don’t care for ripped backings? How am I supposed to use my side clamps on this? This isn’t just a little crooked, it’s probably 8”+ crooked. I’ve heard quilters roll the backing back and forth on their machine to stretch it back to straight. I’d rather not do that.

Above is how crooked it is on the top, below is how crooked it was when I rolled it near the bottom of the backing. Definitely not easy to work with.
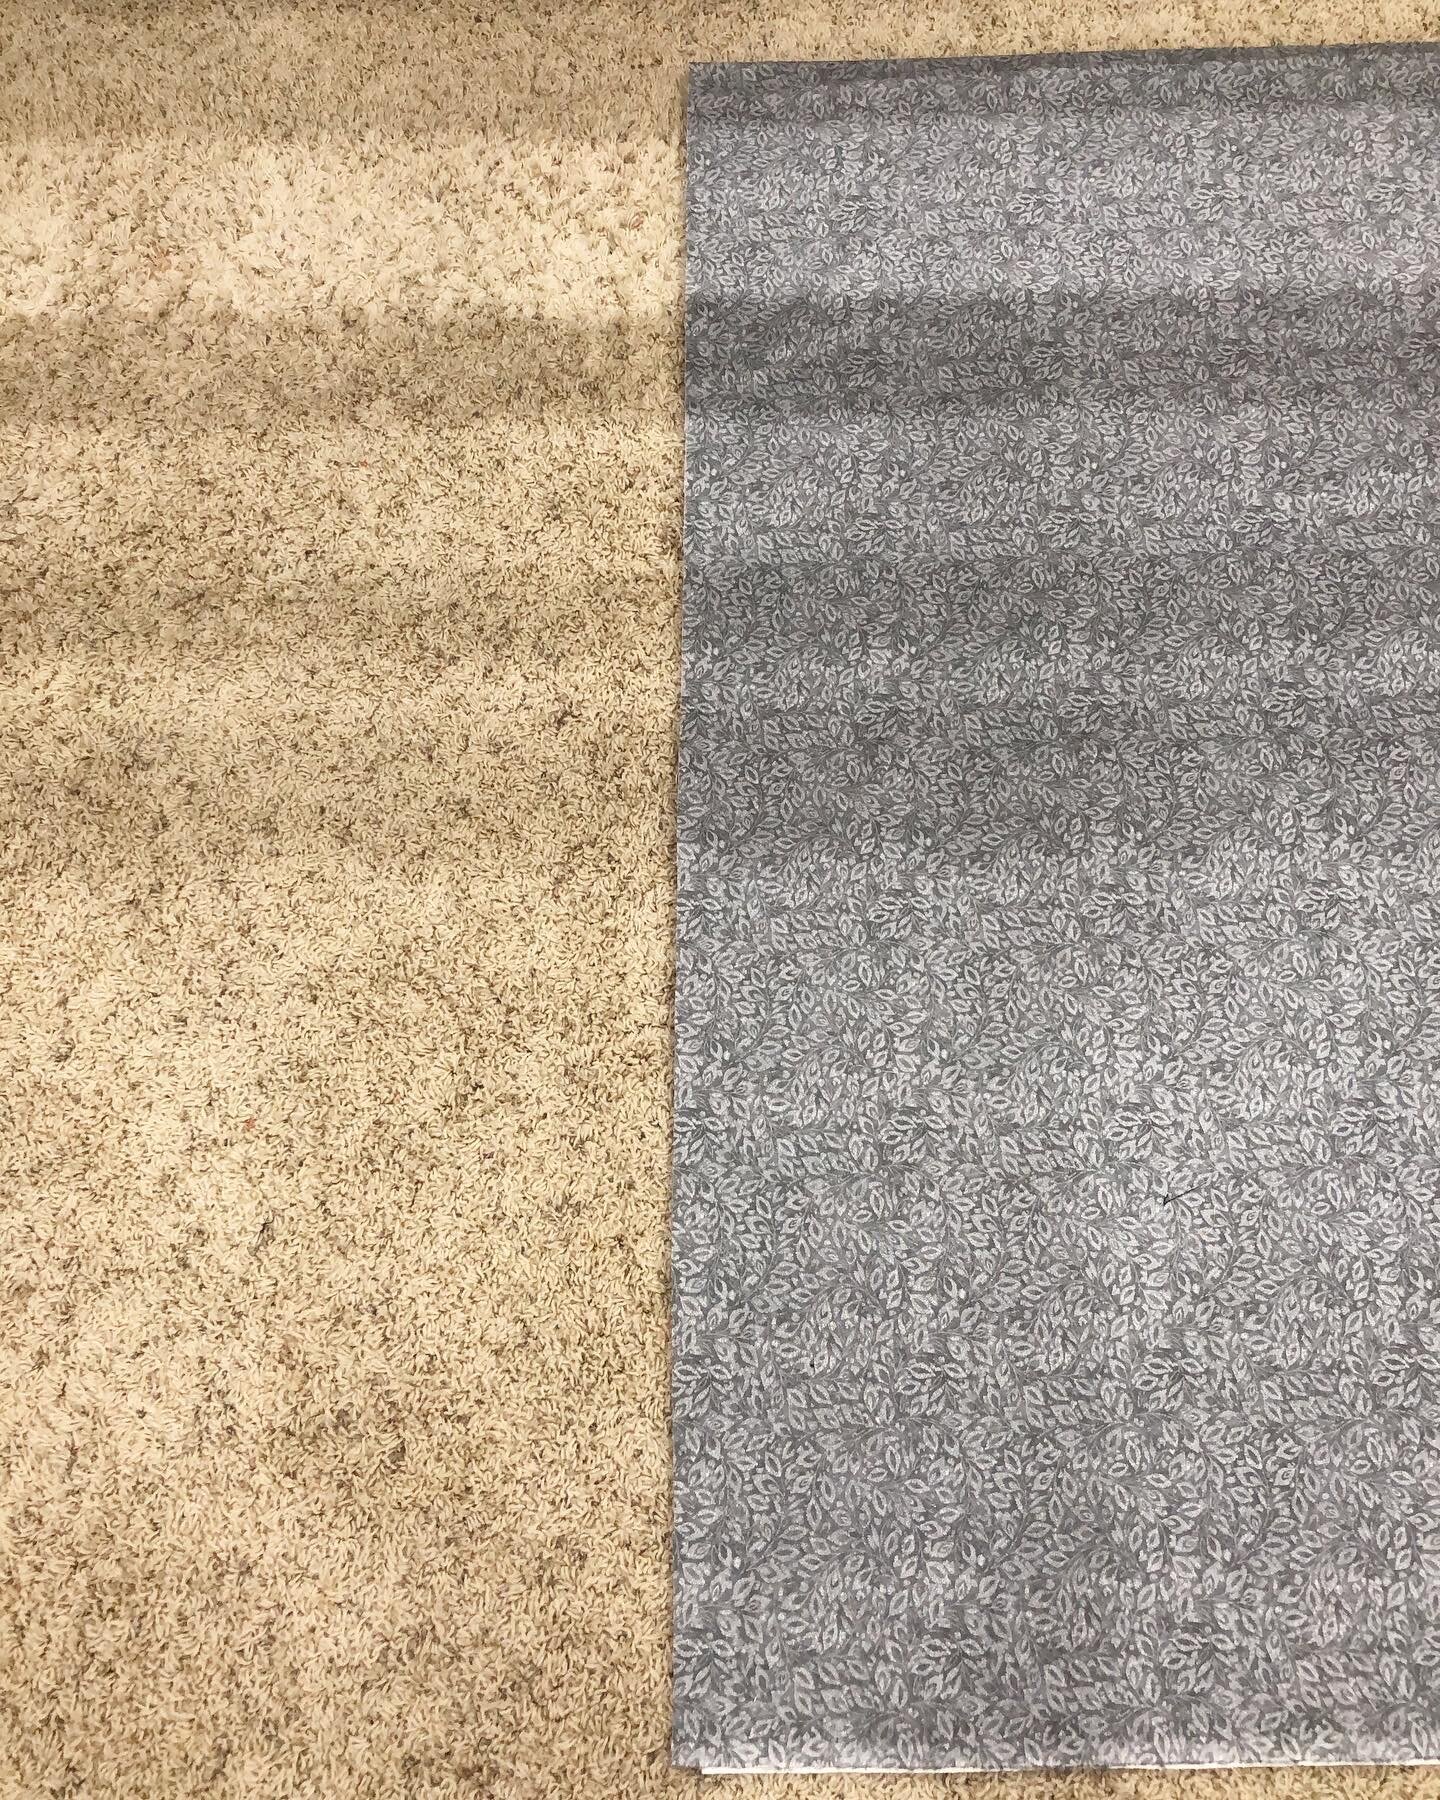
Below…This is the side of the quilt backing that I trimmed at the very top of this blog post. This is how backings should be trimmed. Nice and straight.
You can see in the above picture the edge of the canvas. In order for me to have a flat and taut quilt backing, it is necessary for there to be straight edges. If you sew a backing together and a piece of it is longer than the other, trim it straight. It’s much easier for us as quilters to work with straight backings, which gives you a better end product. I strongly encourage you to give your backing a good press as well, especially along the fold, from the fabric being on the bolt. I hope this helps you prepare your quilt backing better. Let me know if you have any questions.
Thank you for coming by!! • Leisha