

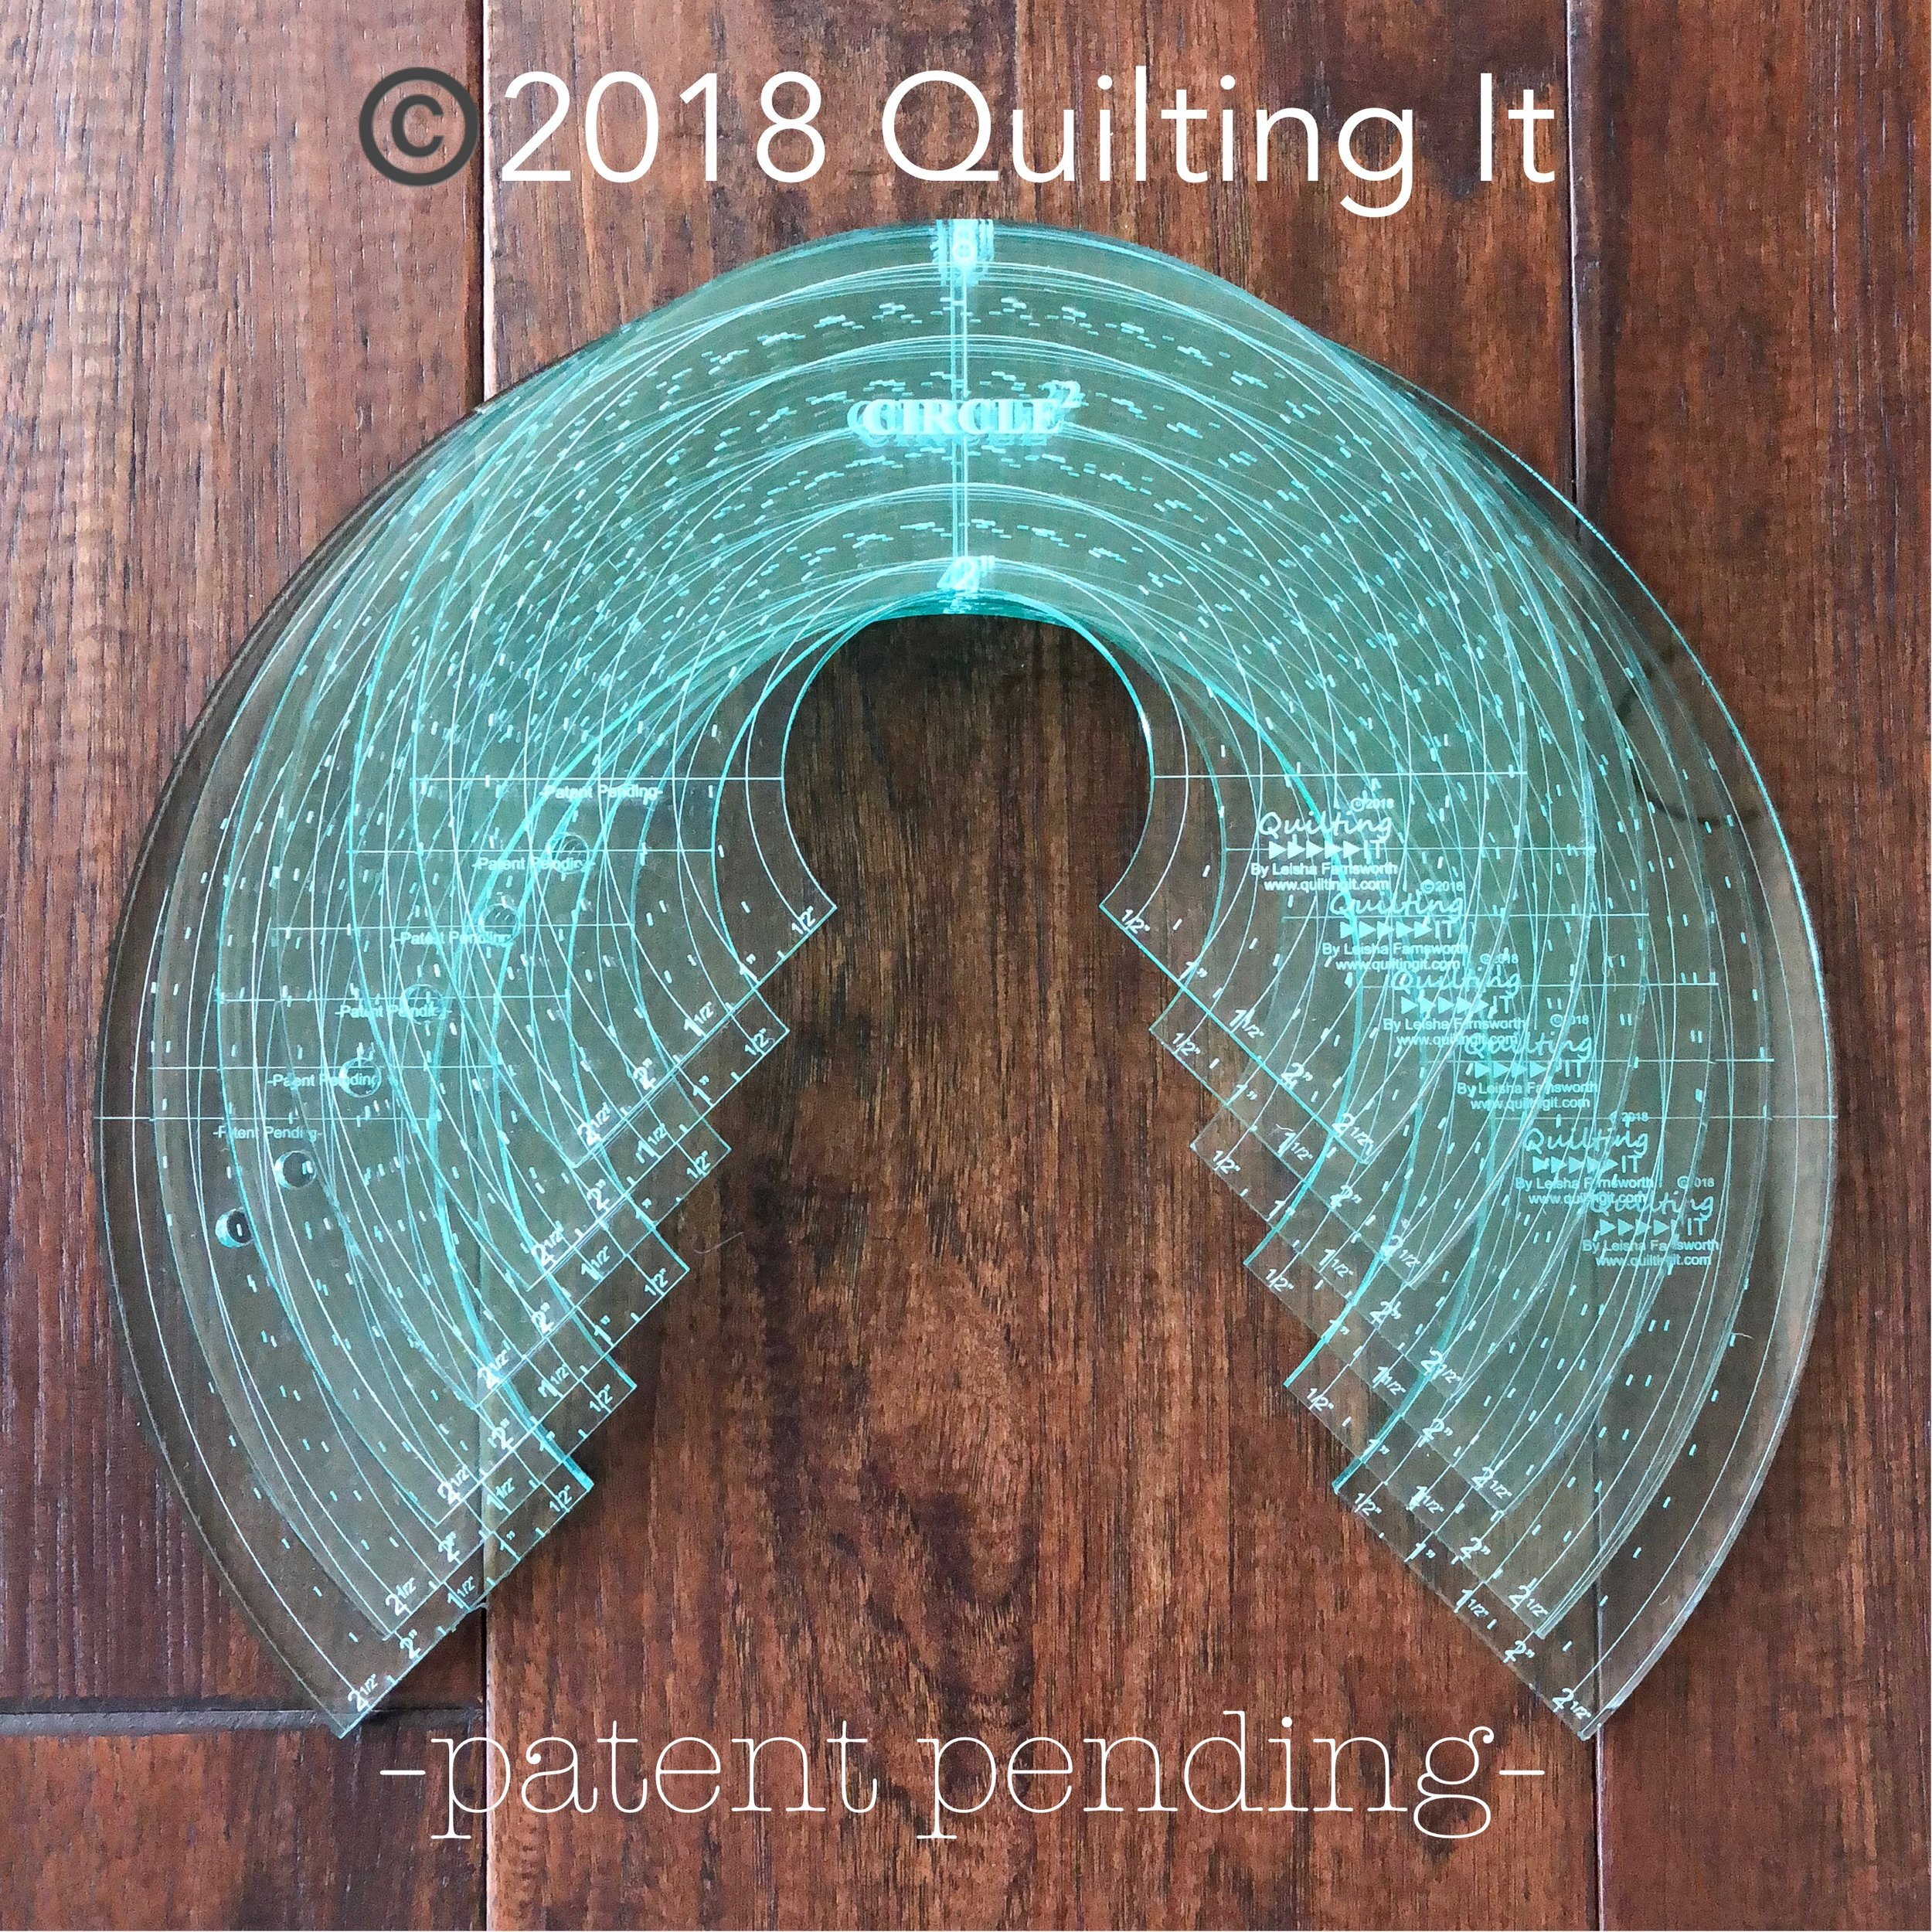
Introducing my “Circle2™” longarm circle ruler set!!
The past several years, when I would share which rulers I was using to custom machine quilt...I was often asked which circle ruler set I would recommend. I didn’t have a recommendation. I was using a solid circle ruler, that only had two lines, one vertical and one horizontal...which crossed each other in the center. While these rulers worked, they weren’t the easiest to maneuver and didn’t have all the lines to help keep my quilting more accurate. Another thing about these rulers, they were cut to the exact size of circle. A 4” circle cut at 4”, so when I quilted out a circle it actually ended up being 4.5”, because the manufacturer didn’t take into consideration the 1/2” that the hopping foot added. That is why I prefer machine quilting rulers, designed by machine quilters. We understand the importance of which lines are best where.
- Design Patent D875,574 -
So...I set out to design a circle ruler set of my own. Which brings me to “Circle2™“. When I designed this set, I wanted to make sure there were 2 sizes of circles in each ruler, so we (you and I) would only need 6 rulers instead of 12. These rulers were designed to give you and I the ability to quilt out full sized circles...so, the 4” circle will quilt a 4” circle. (To get the correct measurement on each of the rulers, you must quilt out a full circle. ) You may be wondering how you quilt a full circle, with only 3/4th of a circle ruler. I recommend quilting a majority of the circle, and then putting the needle down, rotating the ruler and lining up the spacing making sure there is a 1/4” on both sides, and then finishing the circle. I personally am going to use these rulers more often, to quilt a variety of different sized orange peels and scalloped borders, which I’ve been doing with my prototypes...as I’ve been waiting for my patent to be filed. Now that it’s filed, I can share them with you!!!
Circle rulers, just like any curve set, are my go to rulers. Which size do I use the most?...all of them equally. Sometimes sashing is super long between blocks, and I love to add my cross crossed scallop design, so I audition my rulers to see which is the best fit. I suggest getting a set, you never know which circle curve will fit best where. Before I share with you different designs we could quilt using these rulers, I would like to share with you the 6 different sized rulers.
I carry these rulers in two different colors clear and green clear (pictured in this post), and are made with high quality acrylic. Clear are available here: https://www.quiltingit.com/shop/circle2-longarm-ruler-set-clear-acrylic Green sets are available here: https://www.quiltingit.com/shop/circle2-longarm-ruler-set-green-acrylic The difference between the green and clear acrylic, it’s easier to see the lines on the green rulers...when quilting on light fabrics. If you’re used to using clear rulers, and don’t have a hard time seeing, clear would be great for you!
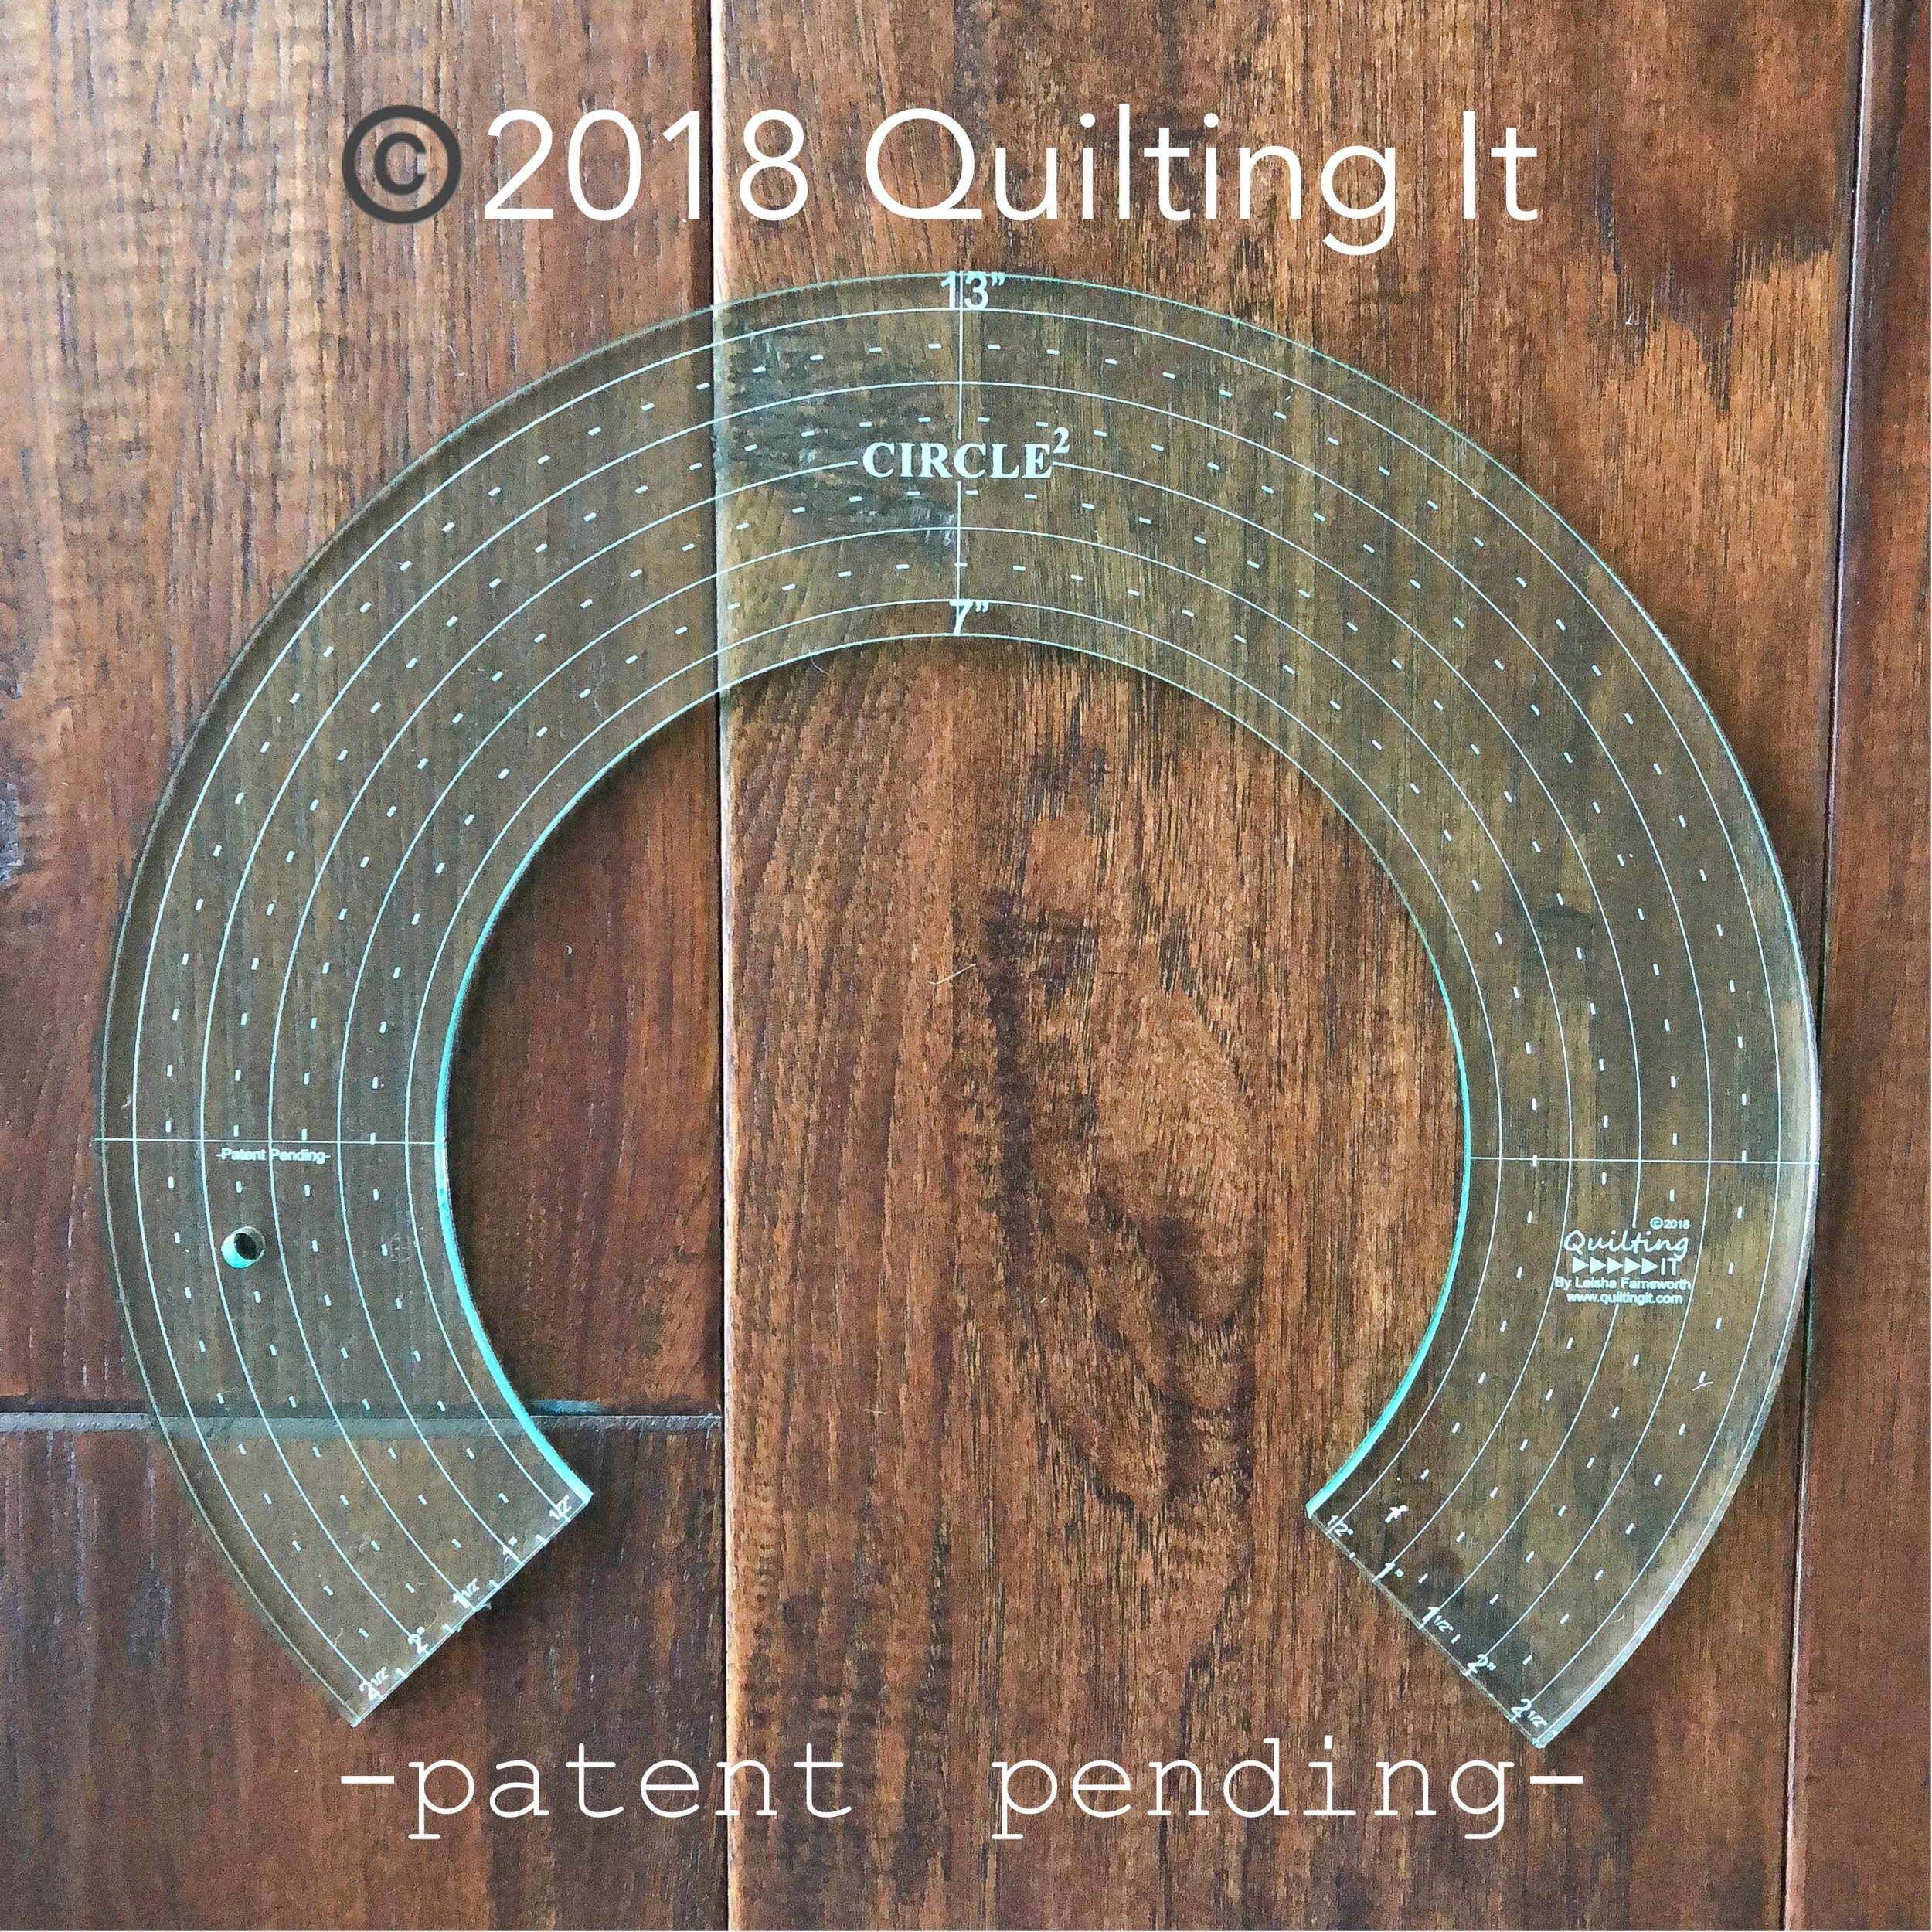
Here is the biggest ruler, 7”/13”.

Next up the 6”/12”.
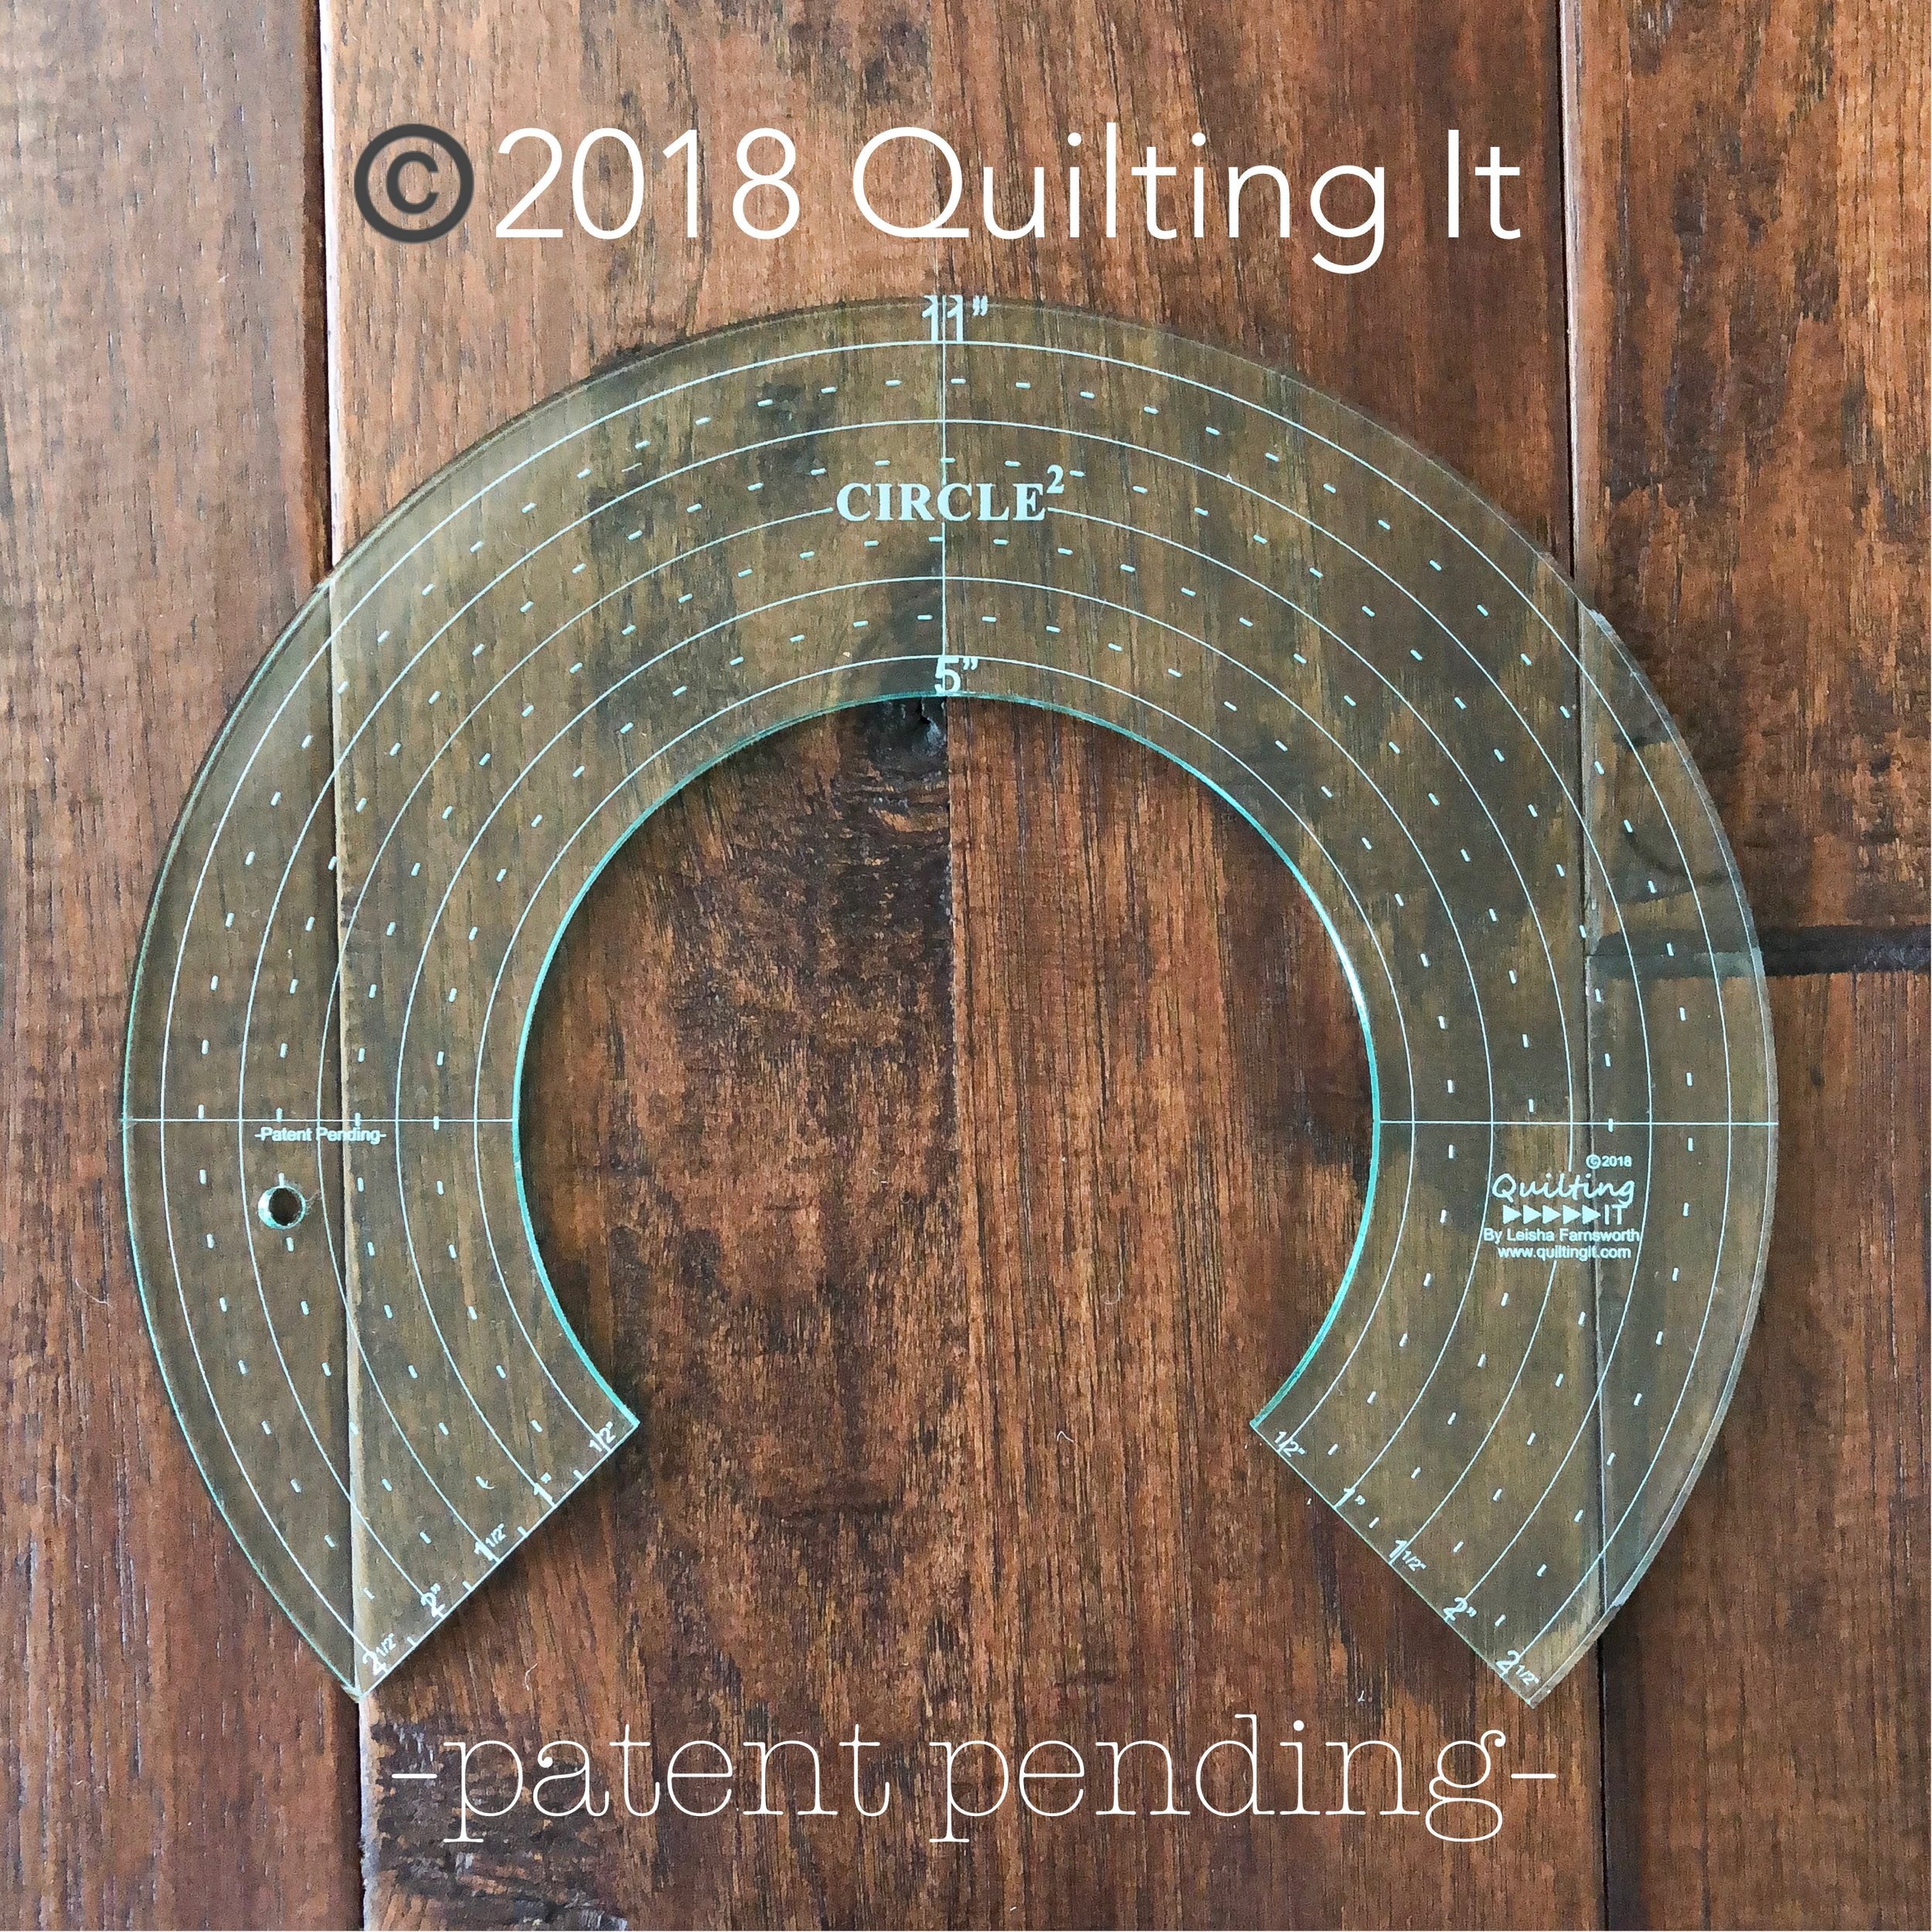
The 5”/11”.

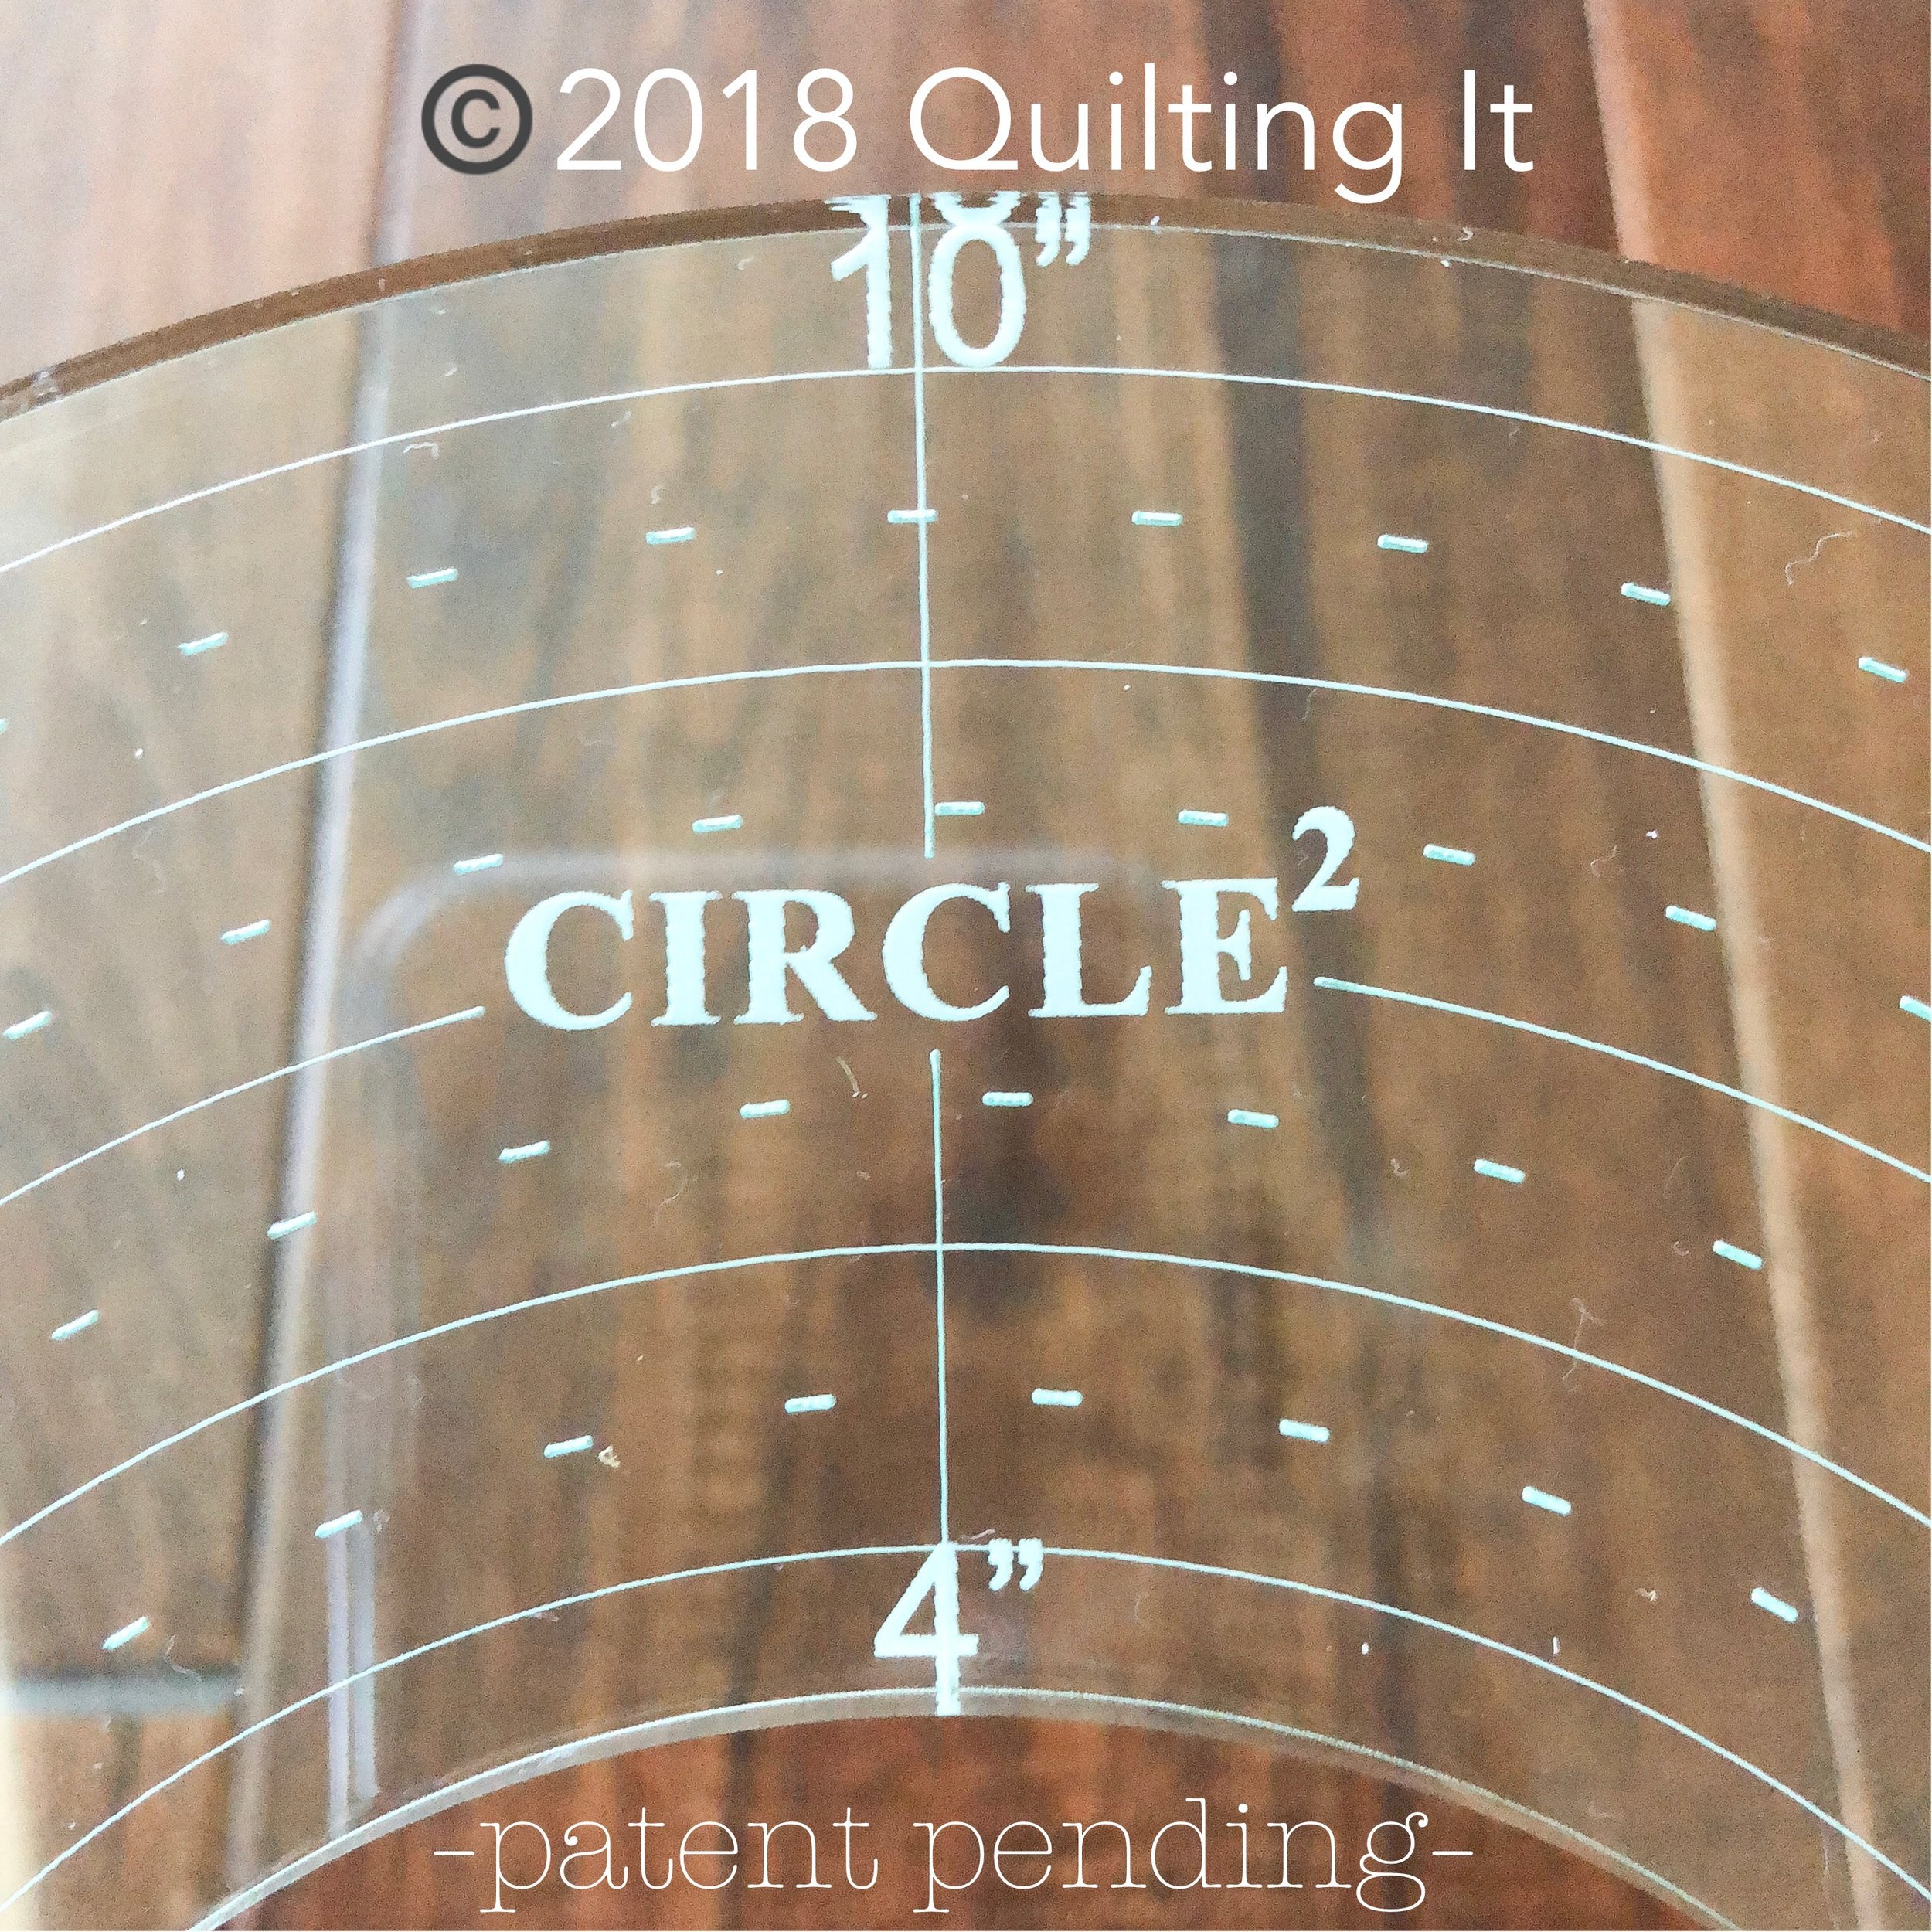
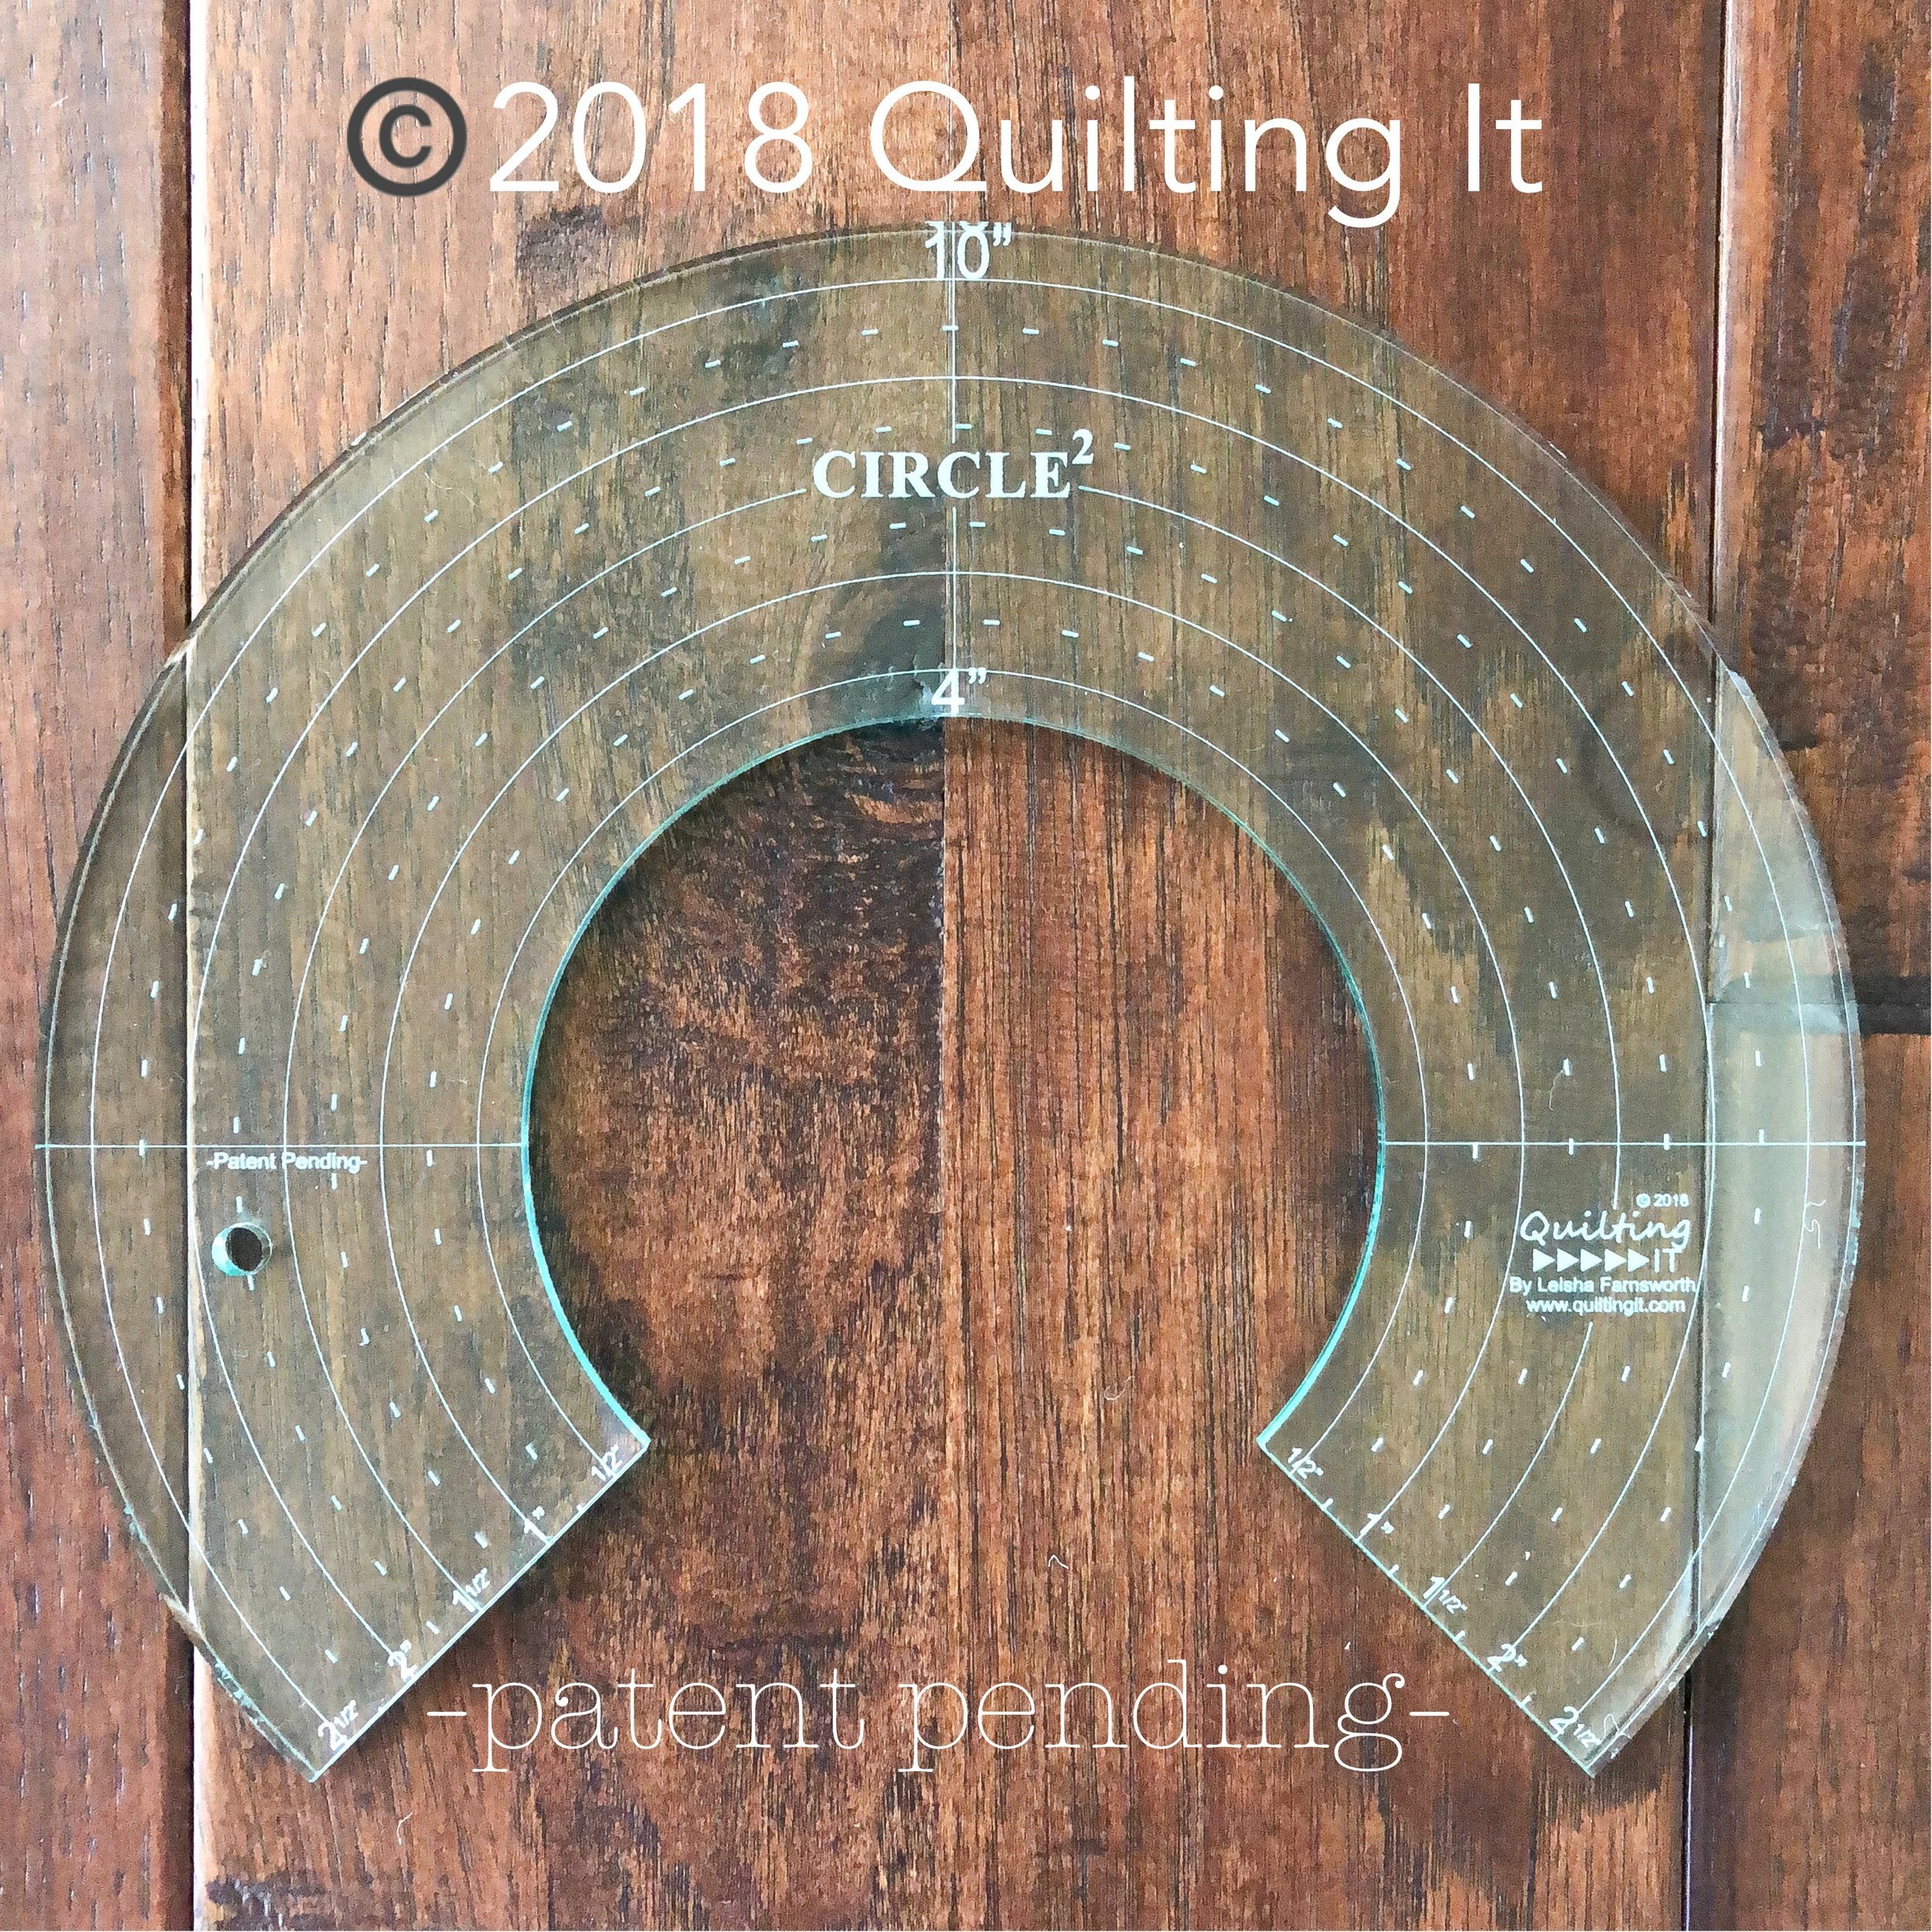
The 4”/10”
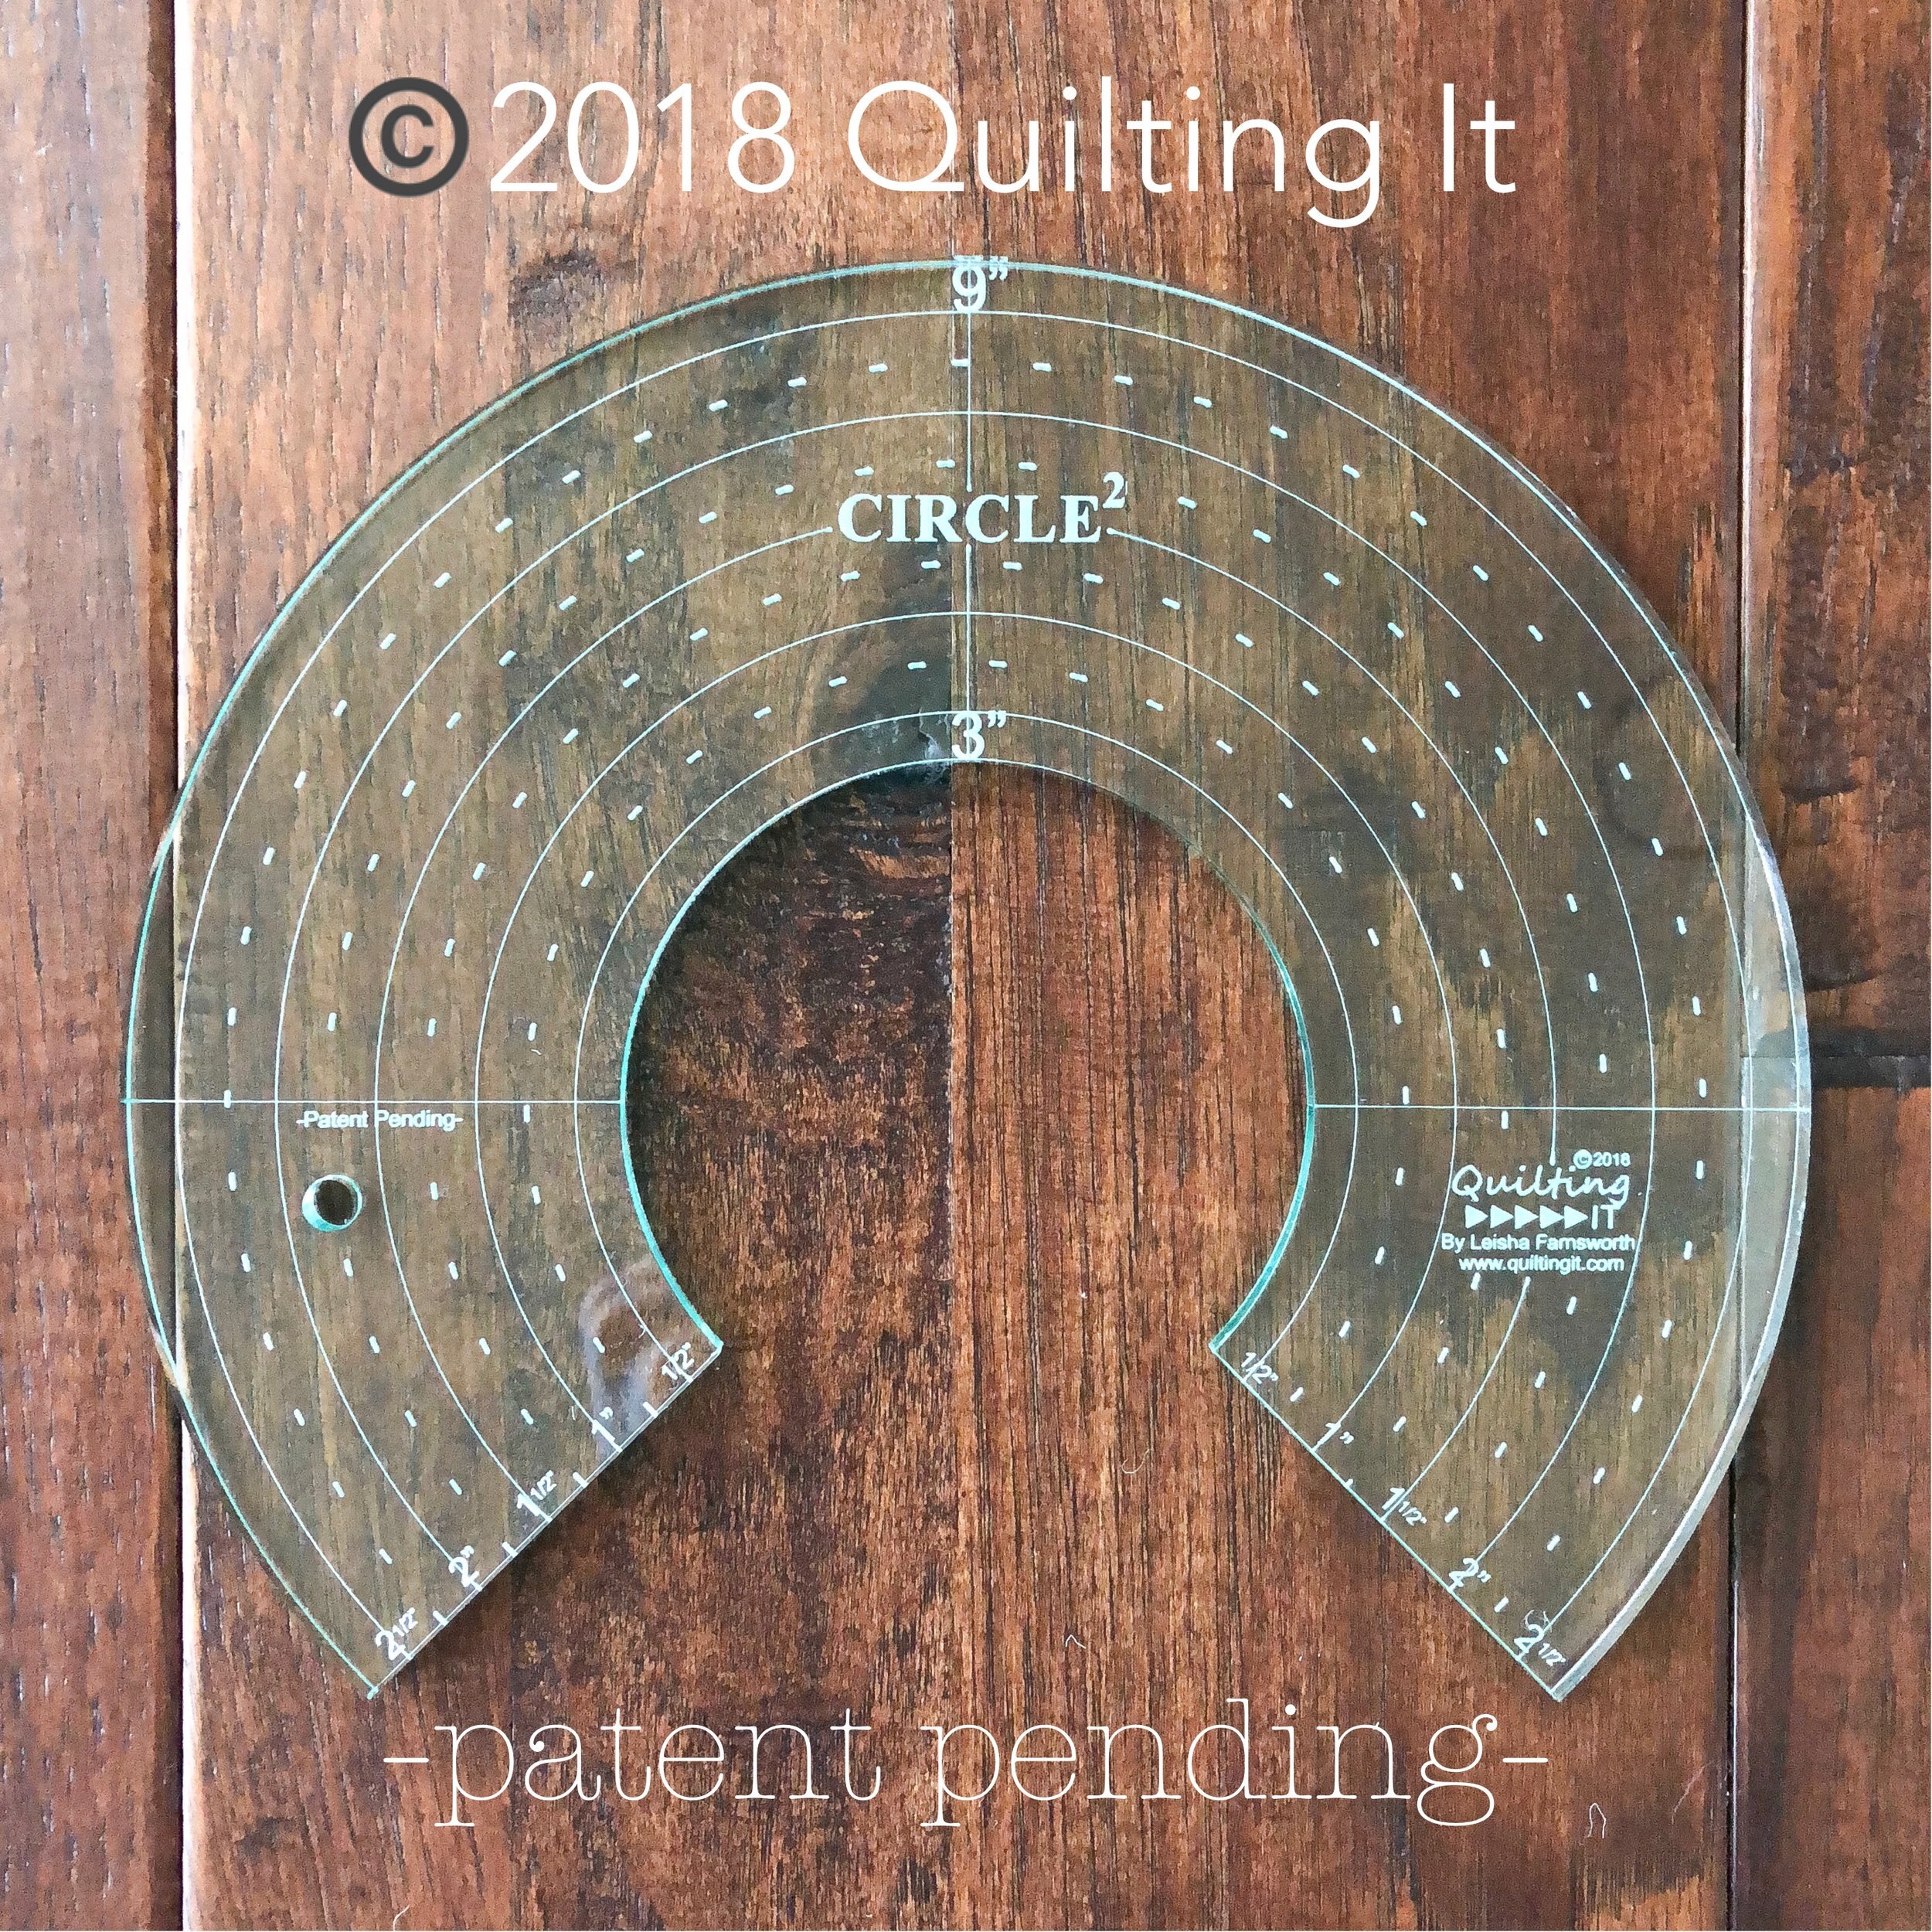
The 3”/9”.

The smallest of the set comes in at 2”/8”.

If you notice along the straight edge of the rulers, the increments are 1/2”. These measurements, once again, take into consideration the 1/4” hopping foot. Which is helpful if you’re quilting cross hatching arcs, which I will show a picture of below.
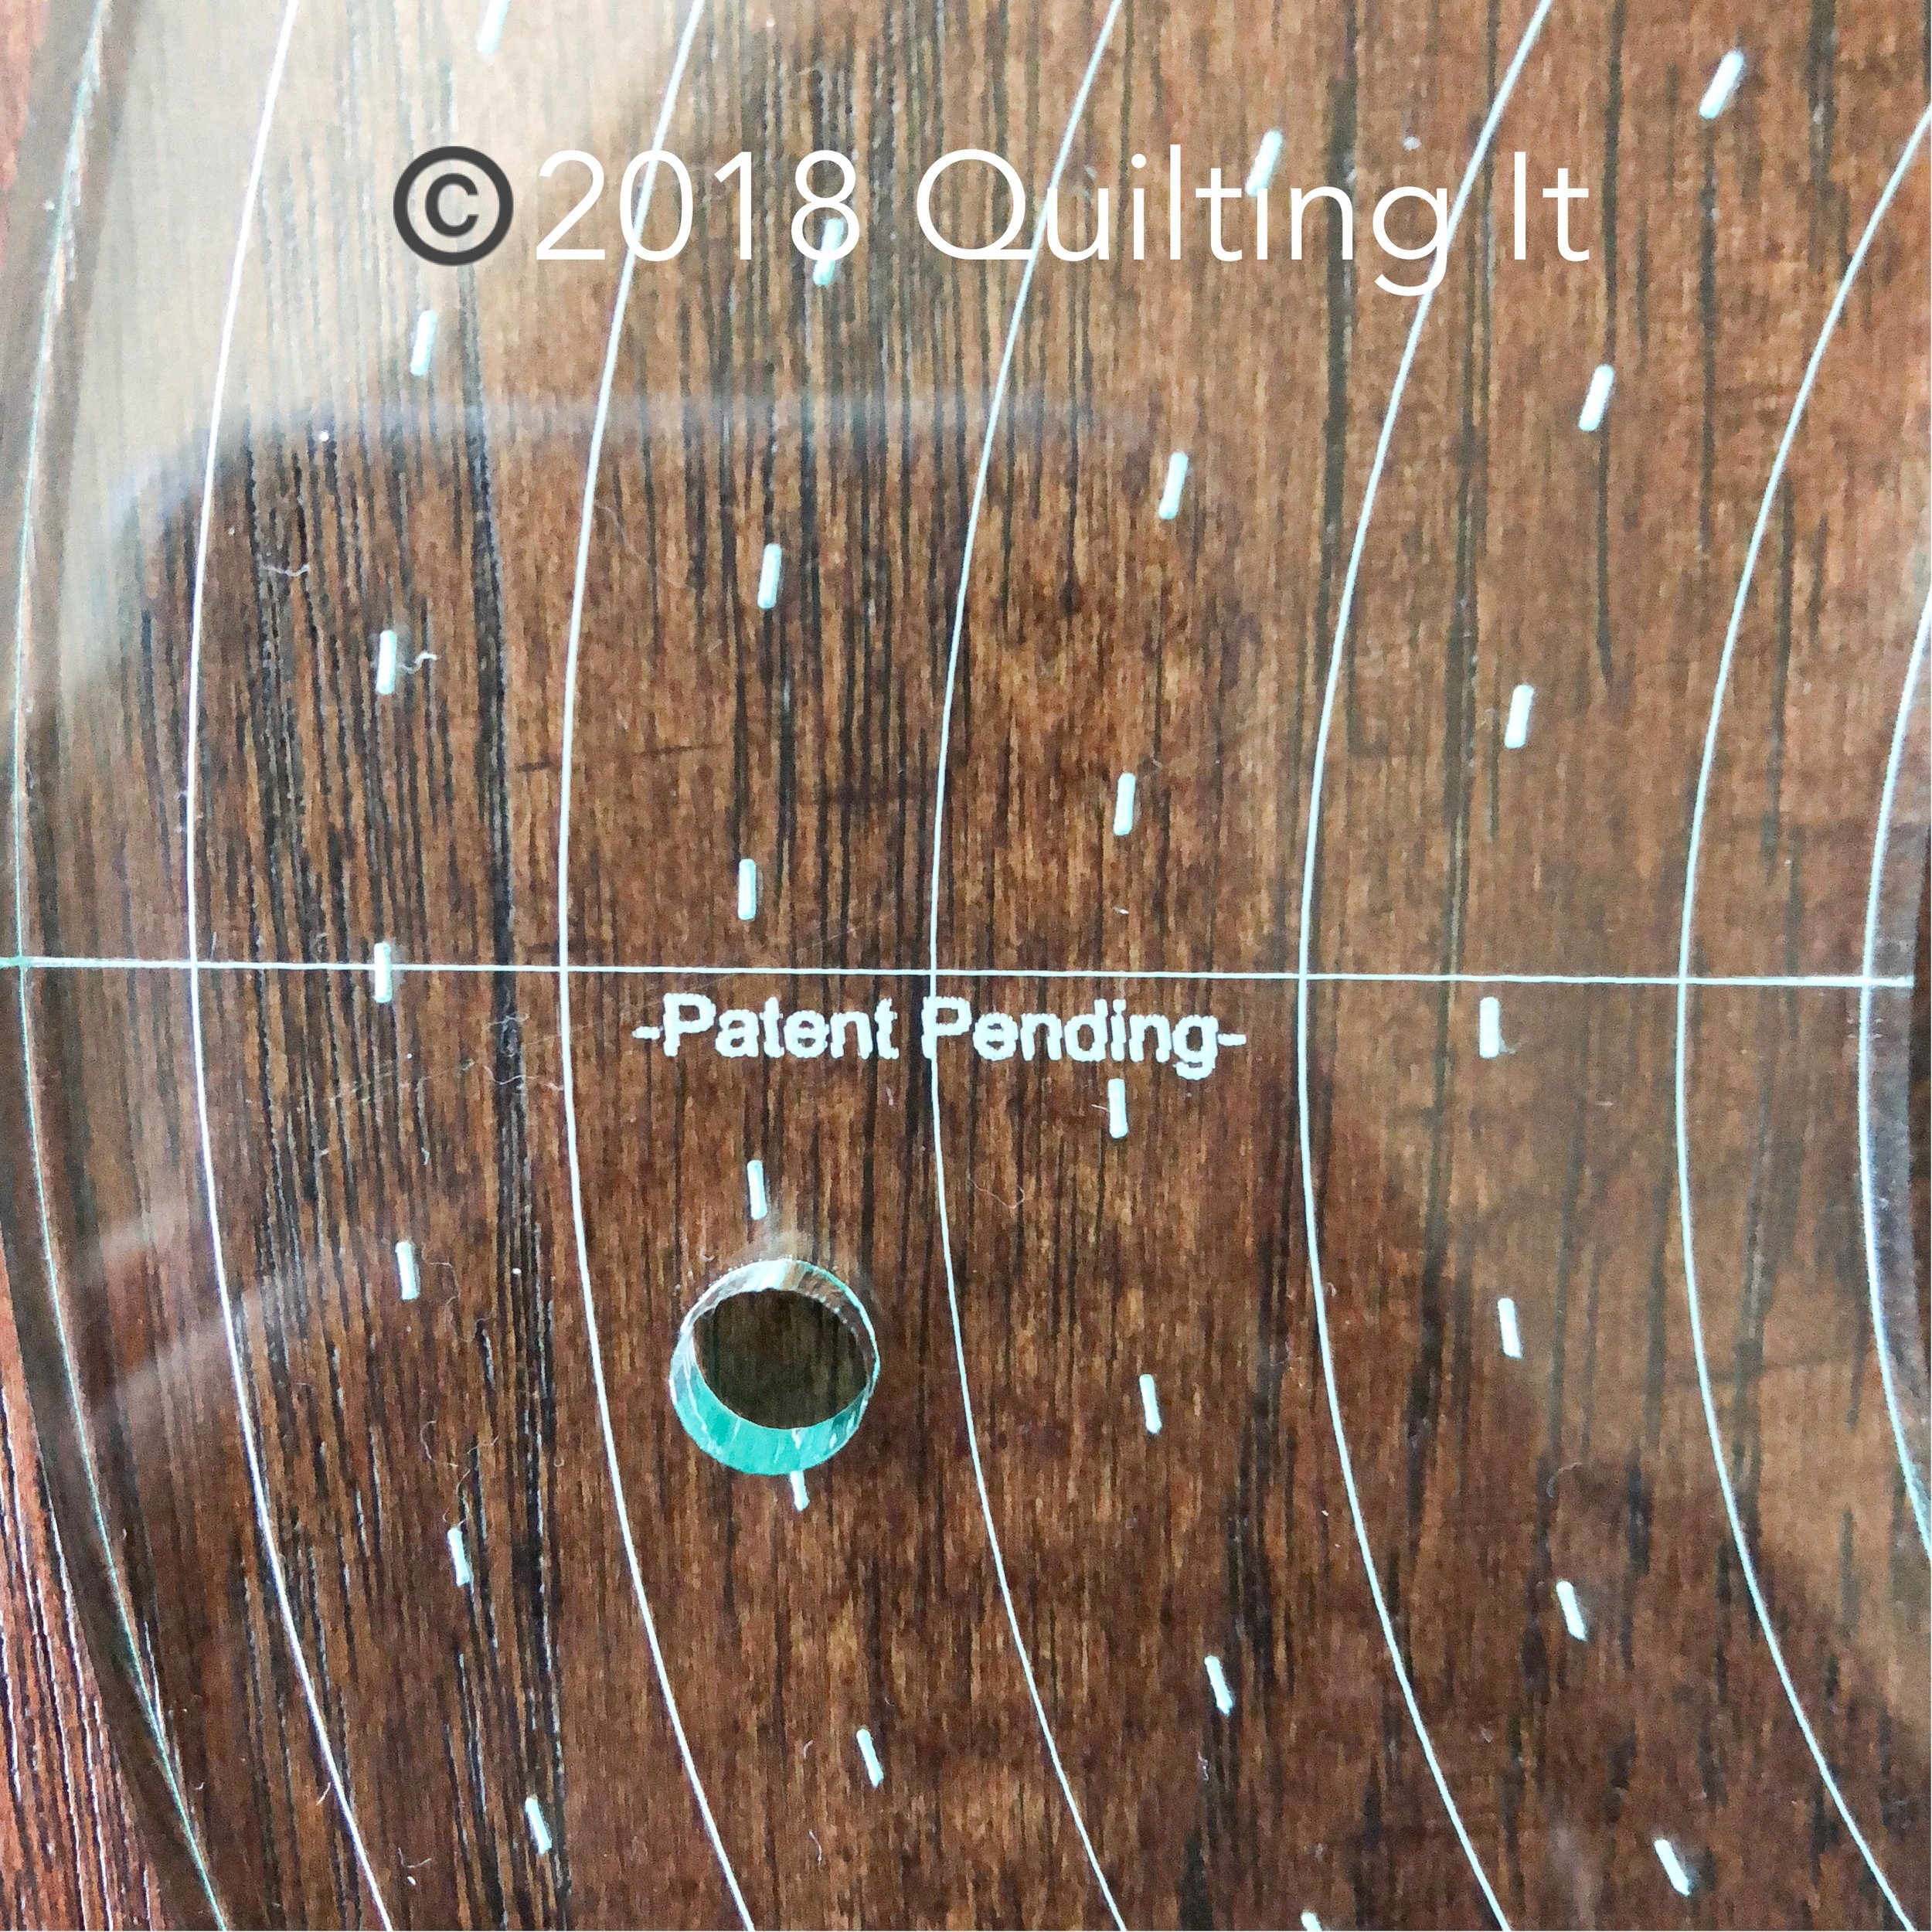
- Design Patent D875,574 - ©️2018 Quilting It - by Leisha Farnsworth. These images may not be used in any way.

So...let’s talk about how to use these rulers.
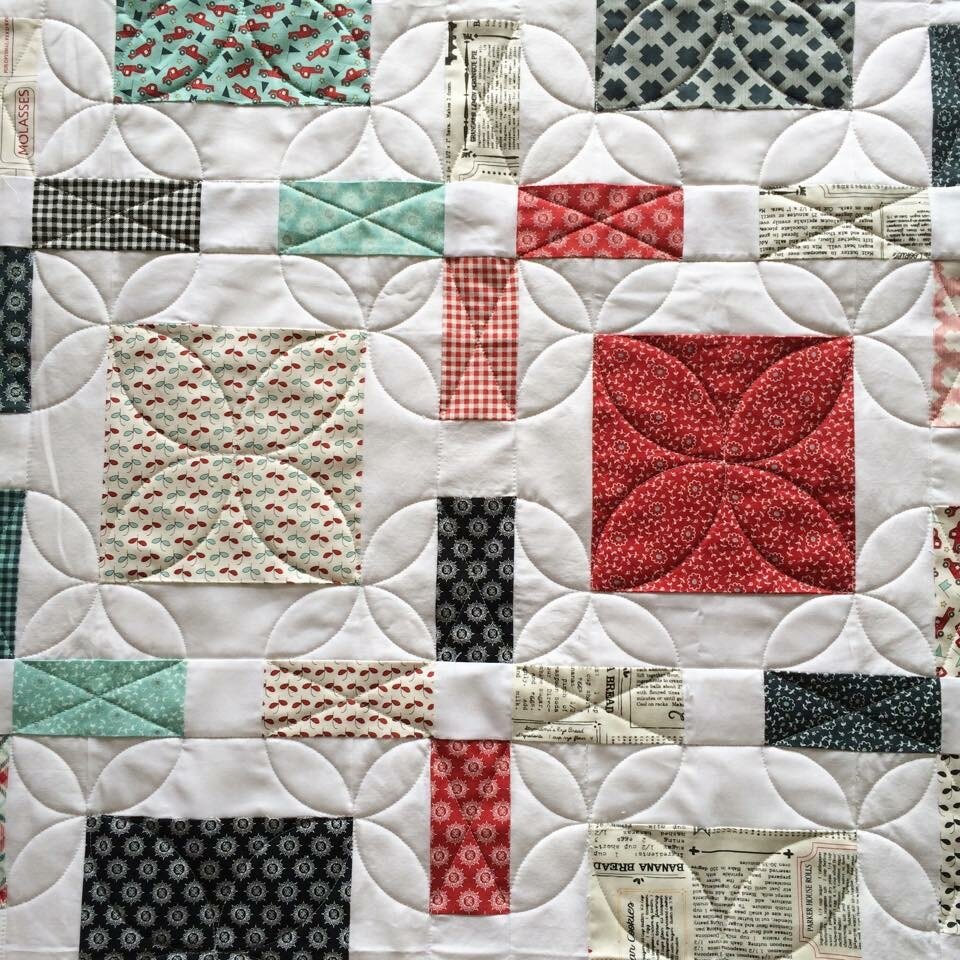
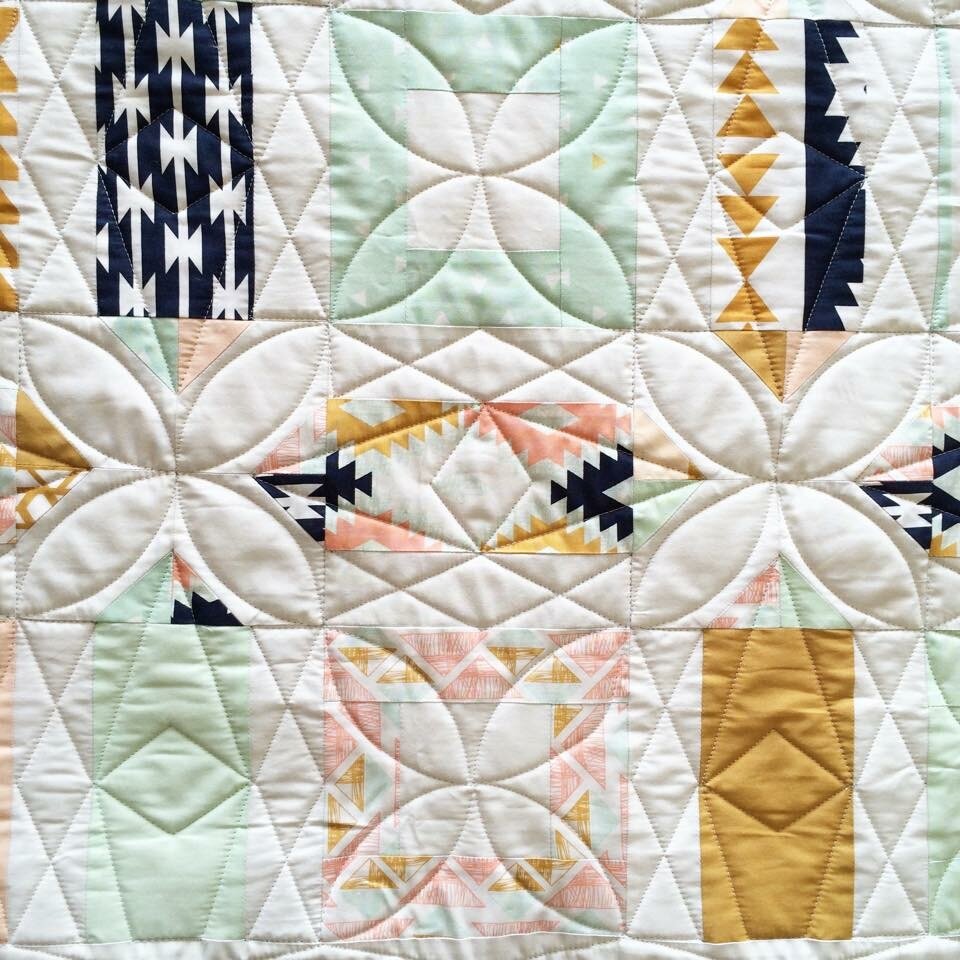
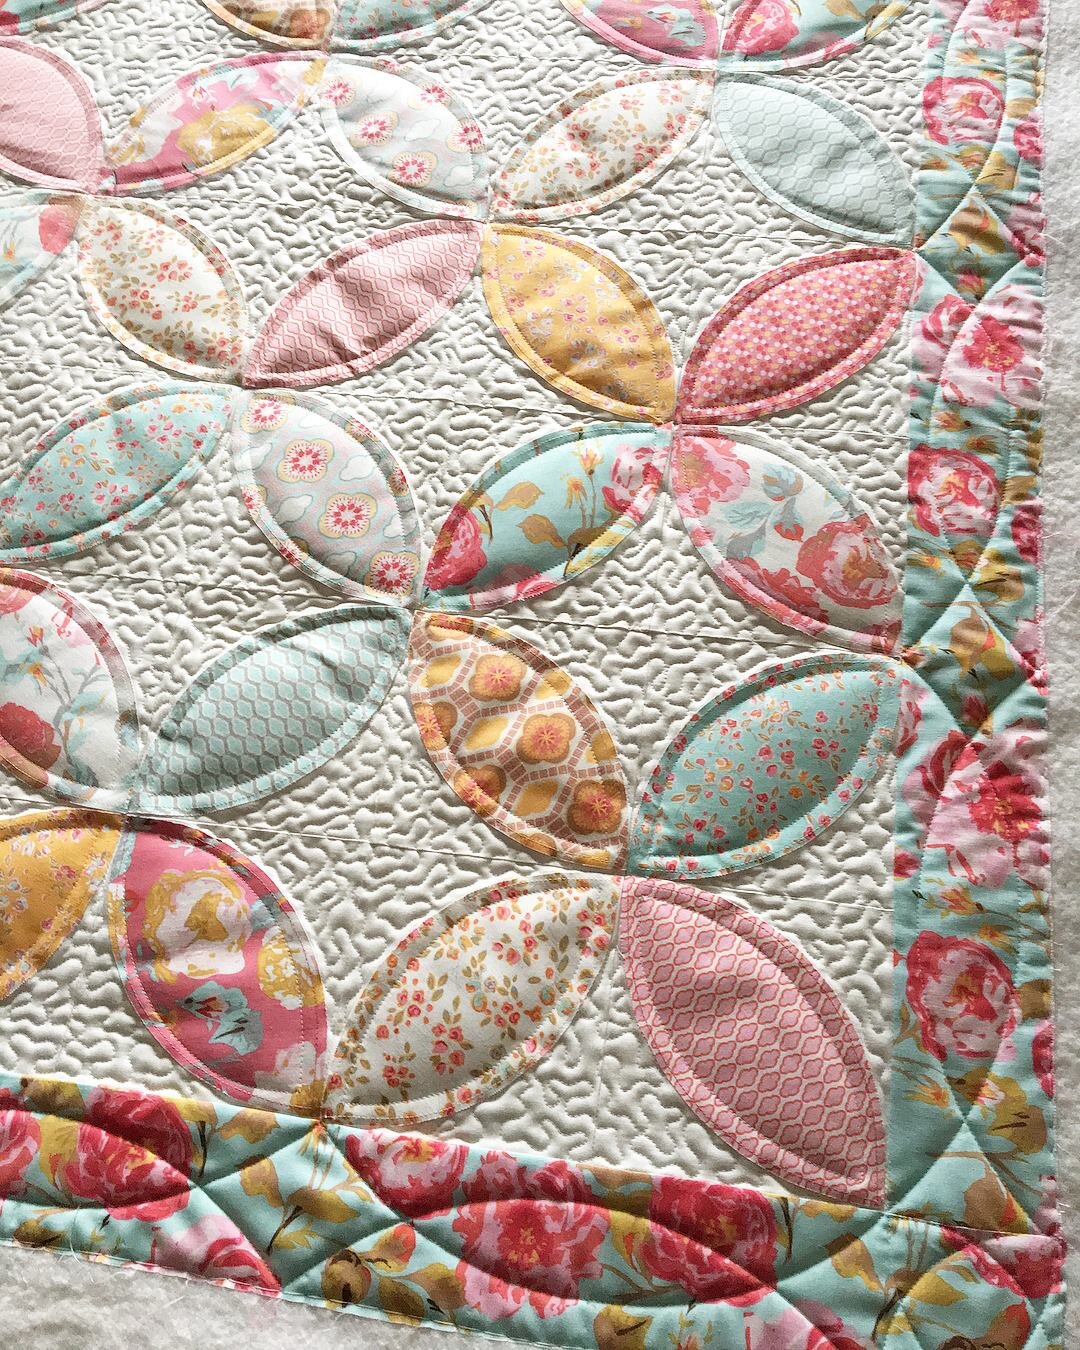
These two quilts are a great example of what a variety of different sized orange peels can add to any custom quilting. If you’re not familiar with what an orange peel is in quilting...it’s all those petals.
I quilted this tumbler quilt with a circle ruler...quilted from the bottom to the top.

There is so much you can do with a circle.

These are a couple of different examples of the scallops I do in sashing, and then along the borders. I love it when they cross cross. Be sure when quilting this border design, you don’t quilt too close to both the seam and the raw edge of the quilt, while still getting that nice space between the curves. Pictured below is a quilt made up of all orange peels, it was extremely helpful to have a circle ruler to quilt just inside those curves.
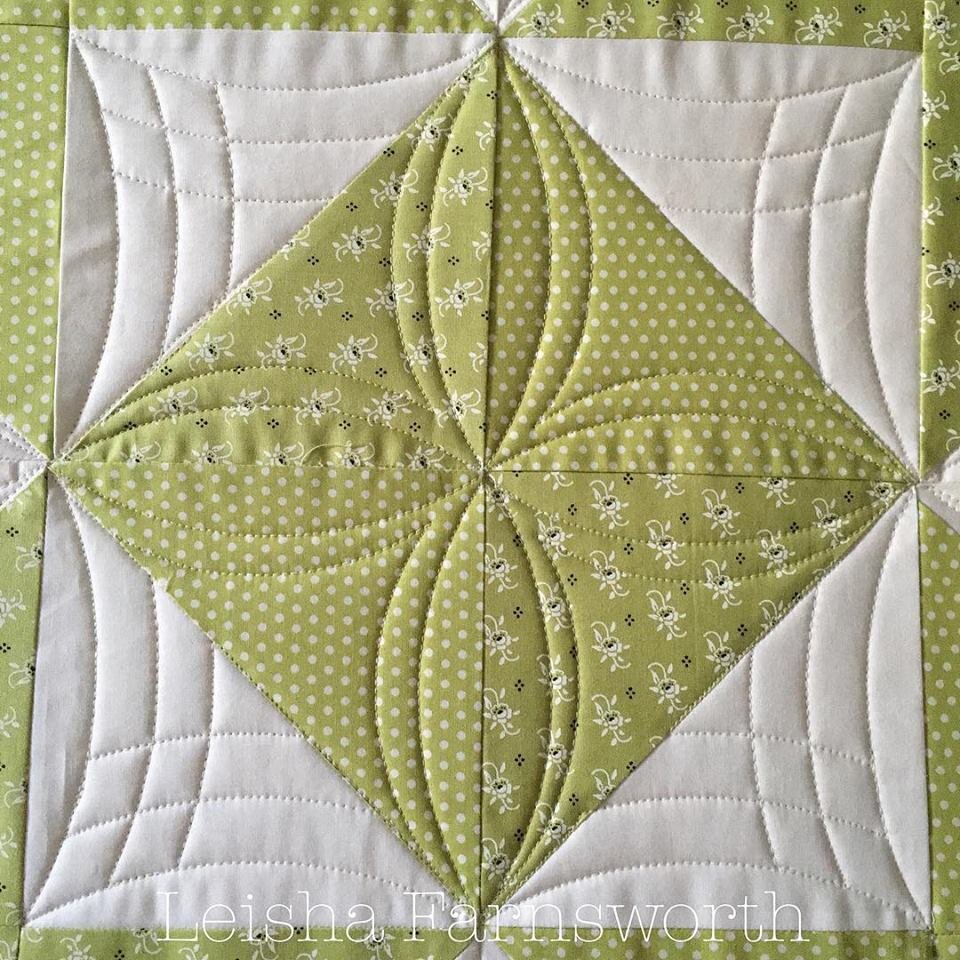
Next up...my favorite way to use a circle curve.
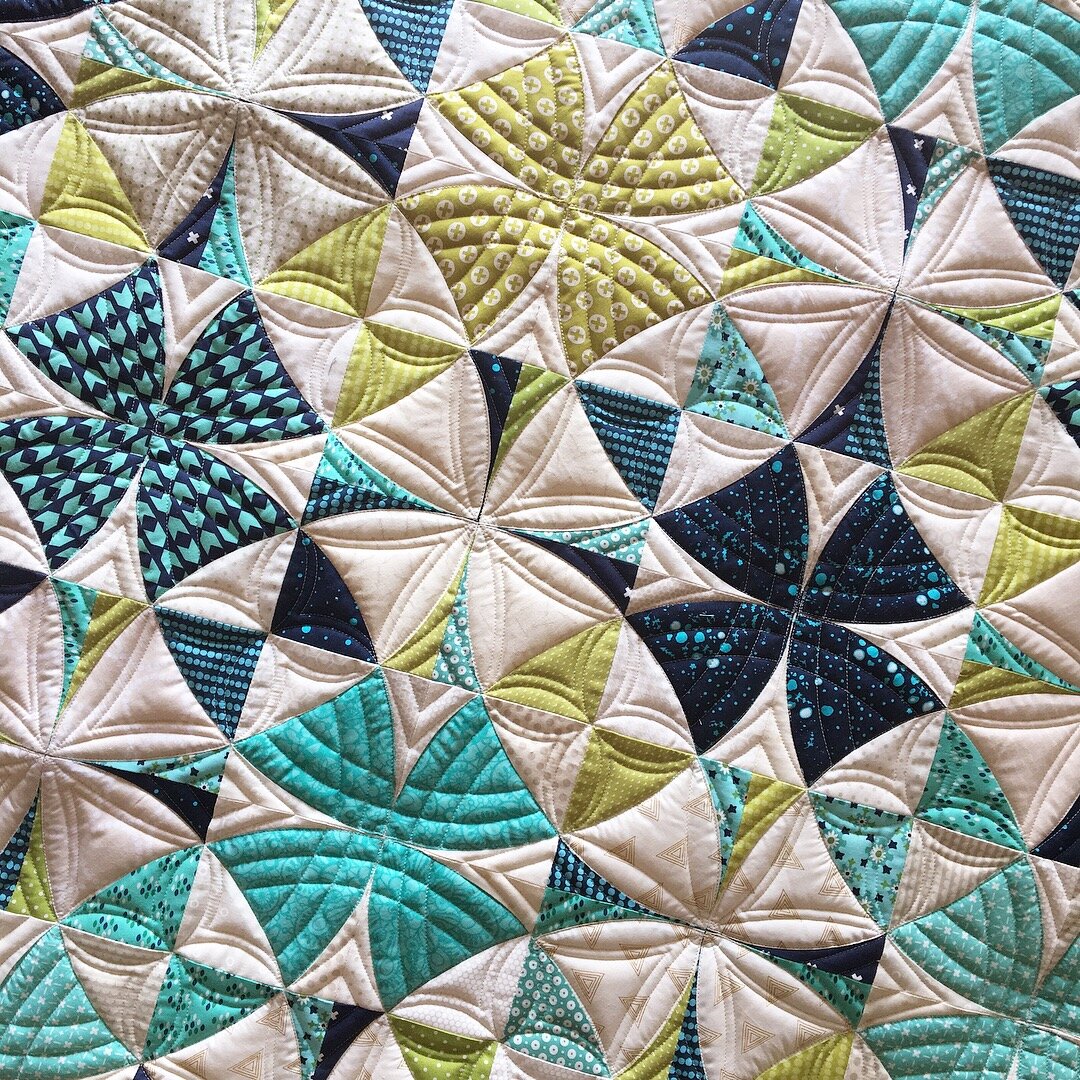
Here are two great examples of the cross hatched arc. While the one above (in the aqua and green fabrics) curves inward, meeting in the center...the one below curves outward, framing the block perfectly. The one below is also my favorite way to quilt those big triangle blocks that finish the edge off, when a quilt is pieces on point.
I hope you can see the endless possibilities, with these rulers!! I will post when the clear sets are available. I recommend subscribing to my YouTube channel, if you haven’t already. www.youtube.com/user/QuiltingIt
International shipping is available, if it won’t work in checkout, let me know. Thank you!
Thanks for stopping by!! Have a great week!
-leisha
NOTE: A protective paper will be attached to the top side of the ruler, when it ships to you, to prevent scratches. To remove the paper, use your fingernail. A knife or scissors may scratch your ruler. Go to my YouTube channel for a short video on this: https://youtu.be/eOSu_ZQ5E4g
To prevent chips in your rulers, you need to hold the ruler butted up next to the hopping foot. You must use a ruler base to give you more stability. Keep the ruler flat, tilting the ruler can cause it to catch under the hopping foot or catch in between the needle bar and top of the hopping foot.

- Design Patent D875,574 -